Some of you may have noticed we recently ran out of materials to assemble trellises for the snap pea porch pots. We’ve still been sharing those container gardens but y’all will need to get creative with your own trellis-building!
Yum! Cascadia Snap Peas freshly-harvested from a school garden
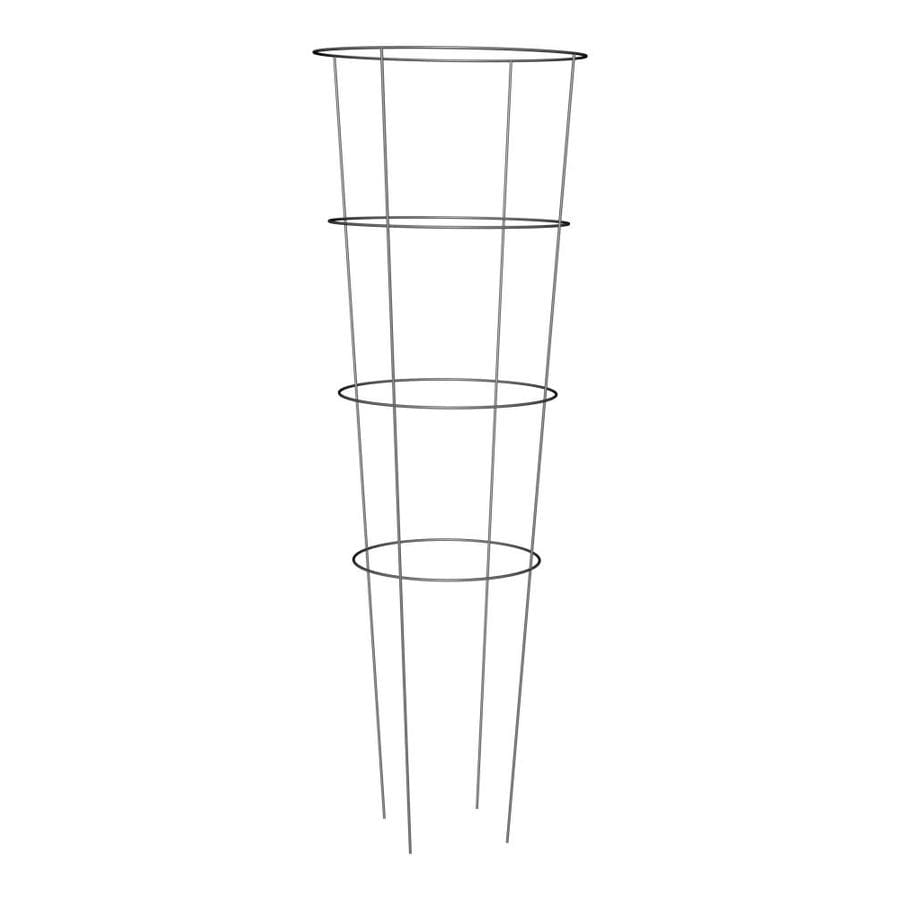
If you have any circular metal tomato cages around, those are just right for trellising snap peas in a bigger pot (they also work well for cucumbers and other vining plants – not just tomatoes!). They often are available in some fun colors, too.
Metal tomato cage
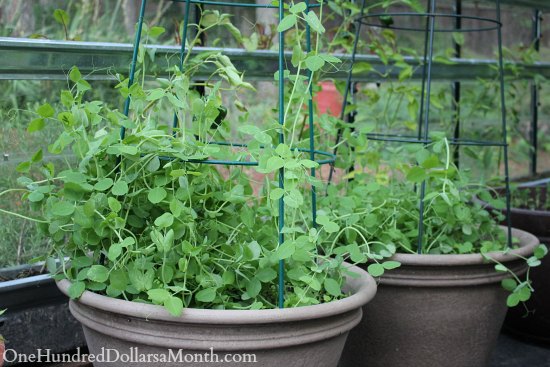
Here’s a great photo from One Hundred Dollars A Month of a tomato cage being used as a snap pea trellis. They’ve gone the route of flipping theirs upside down, but that leaves some pretty pokey bits sticking out and in our experience it works just as well right-side up. (Don’t get confused if you visit their site and see gardening tips – they live in Maine so the climate and seasons are somewhat different than ours in the Pacific NW.)
These peas are growing in pots with tomato cages for trellising
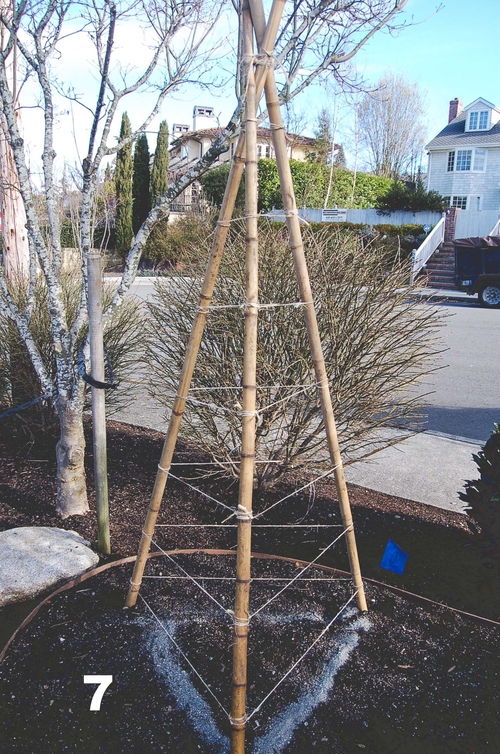
This Pea Tripod Tutorial from Seattle Urban Farm Company is pretty simple and could be done with smaller/shorter sticks fairly easily, to make it fit into a container garden.
Finished pea tripod from Seattle Urban Farm Company tutorial
On the morning of February 7 and 8, we will offer, as we have for many years, our School Garden Volunteer Training. If you are interested in helping out with our local Longview/Kelso school gardens, or are developing a program in your school or community, this class is for you!
These identical classes run from 9:00 to 12:30 – choose Friday 2/7 or Saturday 2/8.
Both classes take place at Northlake Elementary and are free as always. Register here for all classes.
On those same two days, in the afternoon, we are offering a Gardening 101 class on Friday 2/7 from 1:30pm to 3pm.
The class on Saturday 2/8 is Pruning 101 and runs from 1:30 to 3:00pm.
In both classes we will do some learning in the classroom and then head out to the orchard to do some hands-on work.
Both classes take place at Northlake Elementary and are free of charge. Register here for all classes.
Register here for the Volunteer Training and/or Gardening Workshops in February 2020
It’s the time of year when we should be putting seed potatoes in the ground to grow ourselves an abundance of these tasty members of the nightshade family (the same family as tomatoes, peppers, and eggplants). An easy way to remember when to plant potatoes is to always do it around the same time as St. Patrick’s Day. Even though that was last week, we are still well within the planting window.
Potatoes are relatively simple to grow and mostly require loose, well-fortified soil and consistent watering. High Mowing Seeds is a seed grower we admire and they have a helpful guide to growing potatoes that we’d like to share…we’ll be paying specific attention to the sections of the article that talk about growing in “Hills” and “Raised Beds”.
In 2015 one of our AmeriCorps members started on a project to build a growing guide that School Garden volunteers, staff, and even home gardeners could use as a reminder of what to plant and when. That AmeriCorps member is now a full-time employee with School Gardens and she has finished “building” the LCSG Planting Guide. Hooray!
Adapting information from resources like the School Garden Project in Eugene, OR, the Seattle Tilth Maritime NW Garden Guide, and Territorial Seed Company, this “at-a-glance” resource can be used one month at a time or printed and stored as a booklet. Either way, we hope you’ll find it useful.
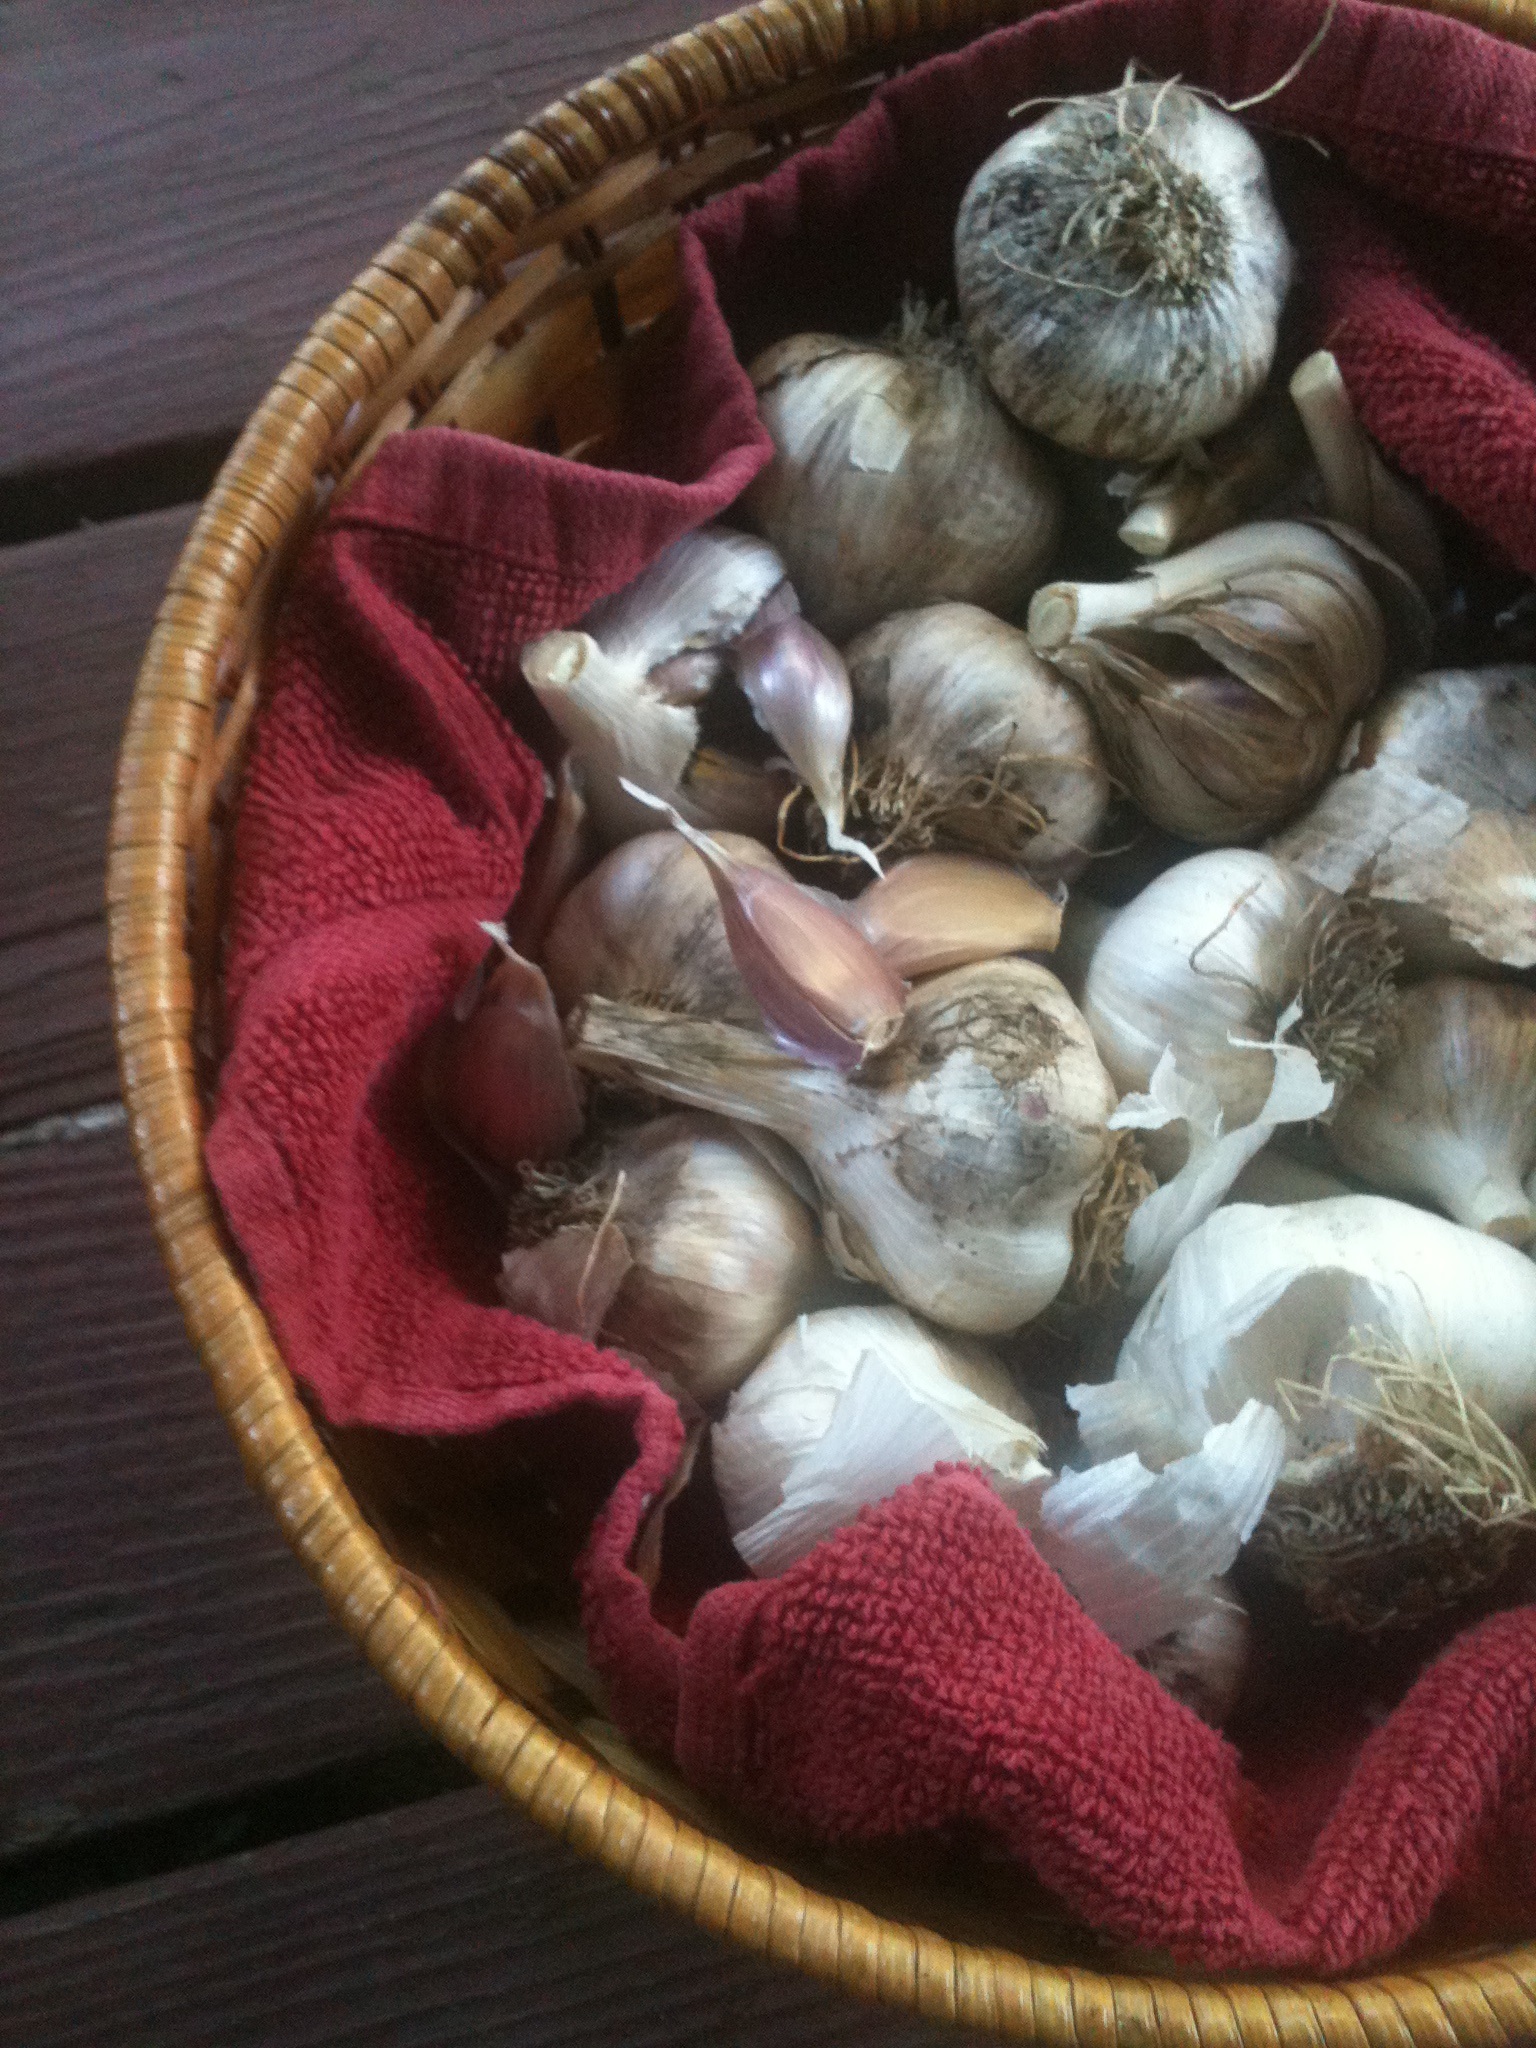
Big seed garlic cloves typically yield big plants and bulbs, and not surprisingly small cloves yield small plants and bulbs
Garlic is easy to growGarlic is a simple and wonderful thing to grow in your own garden. The bulbs and cloves are a welcome and healthful ingredient in many dishes.
Softneck vs. hardneck garlicSoftneck garlic is what you’ll typically find in grocery stores, mainly because it can be stored for such a long time without sprouting. Softneck is also great for making garlic braids and has a relatively mild, simple flavor. Hardneck varieties of garlic are closer to wild garlic, with complex flavors. The skins or wrappers of many of these varieties tend to slip off smoothly, so they’re sometimes preferred for using in the kitchen. If you plant hardneck garlic you’ll also get to enjoy a garlic scape harvest. Most hardneck varieties will store for 6 – 10 months.
Amend soil in mid to late-Sept and plant any time during Oct in loose, rich soil In our corner of the country (the Pacific NW), garlic is usually planted during the month of October, hopefully giving the cloves enough time to grow some early roots before the ground freezes. This member of the Allium family appreciates soil that has been amended a few weeks in advance with a well-balanced organic fertilizer or compost. Plan to do the soil amending in mid to late September and then once your garlic has been planted it is best to cover over the soil with mulch – either straw or leaves.
Plant cloves 5 – 9 inches apart• Choose the biggest cloves for planting and save the smallest for cookingPlant each clove 5 – 9 inches apart, no matter how you lay out your rows or beds. Break bulbs apart into separate cloves just prior to planting and plant the root end down (usually this means the pointy side goes up), about two inches deep. Stick to planting only the larger cloves since smaller cloves will yield smaller bulbs, and use the smaller cloves for eating right away.
During Spring: Fertilize once and water regularlyIn the Spring when garlic plants are experiencing most of their vegetative growth, water regularly like any garden green (when it’s not raining, that is). Organic Nitrogen fertilizer should be applied at this stage of growth. When days become longer and the temperature starts to climb – typically in May – garlic is finished growing its green leaves and will begin to send energy downward to its bulb.
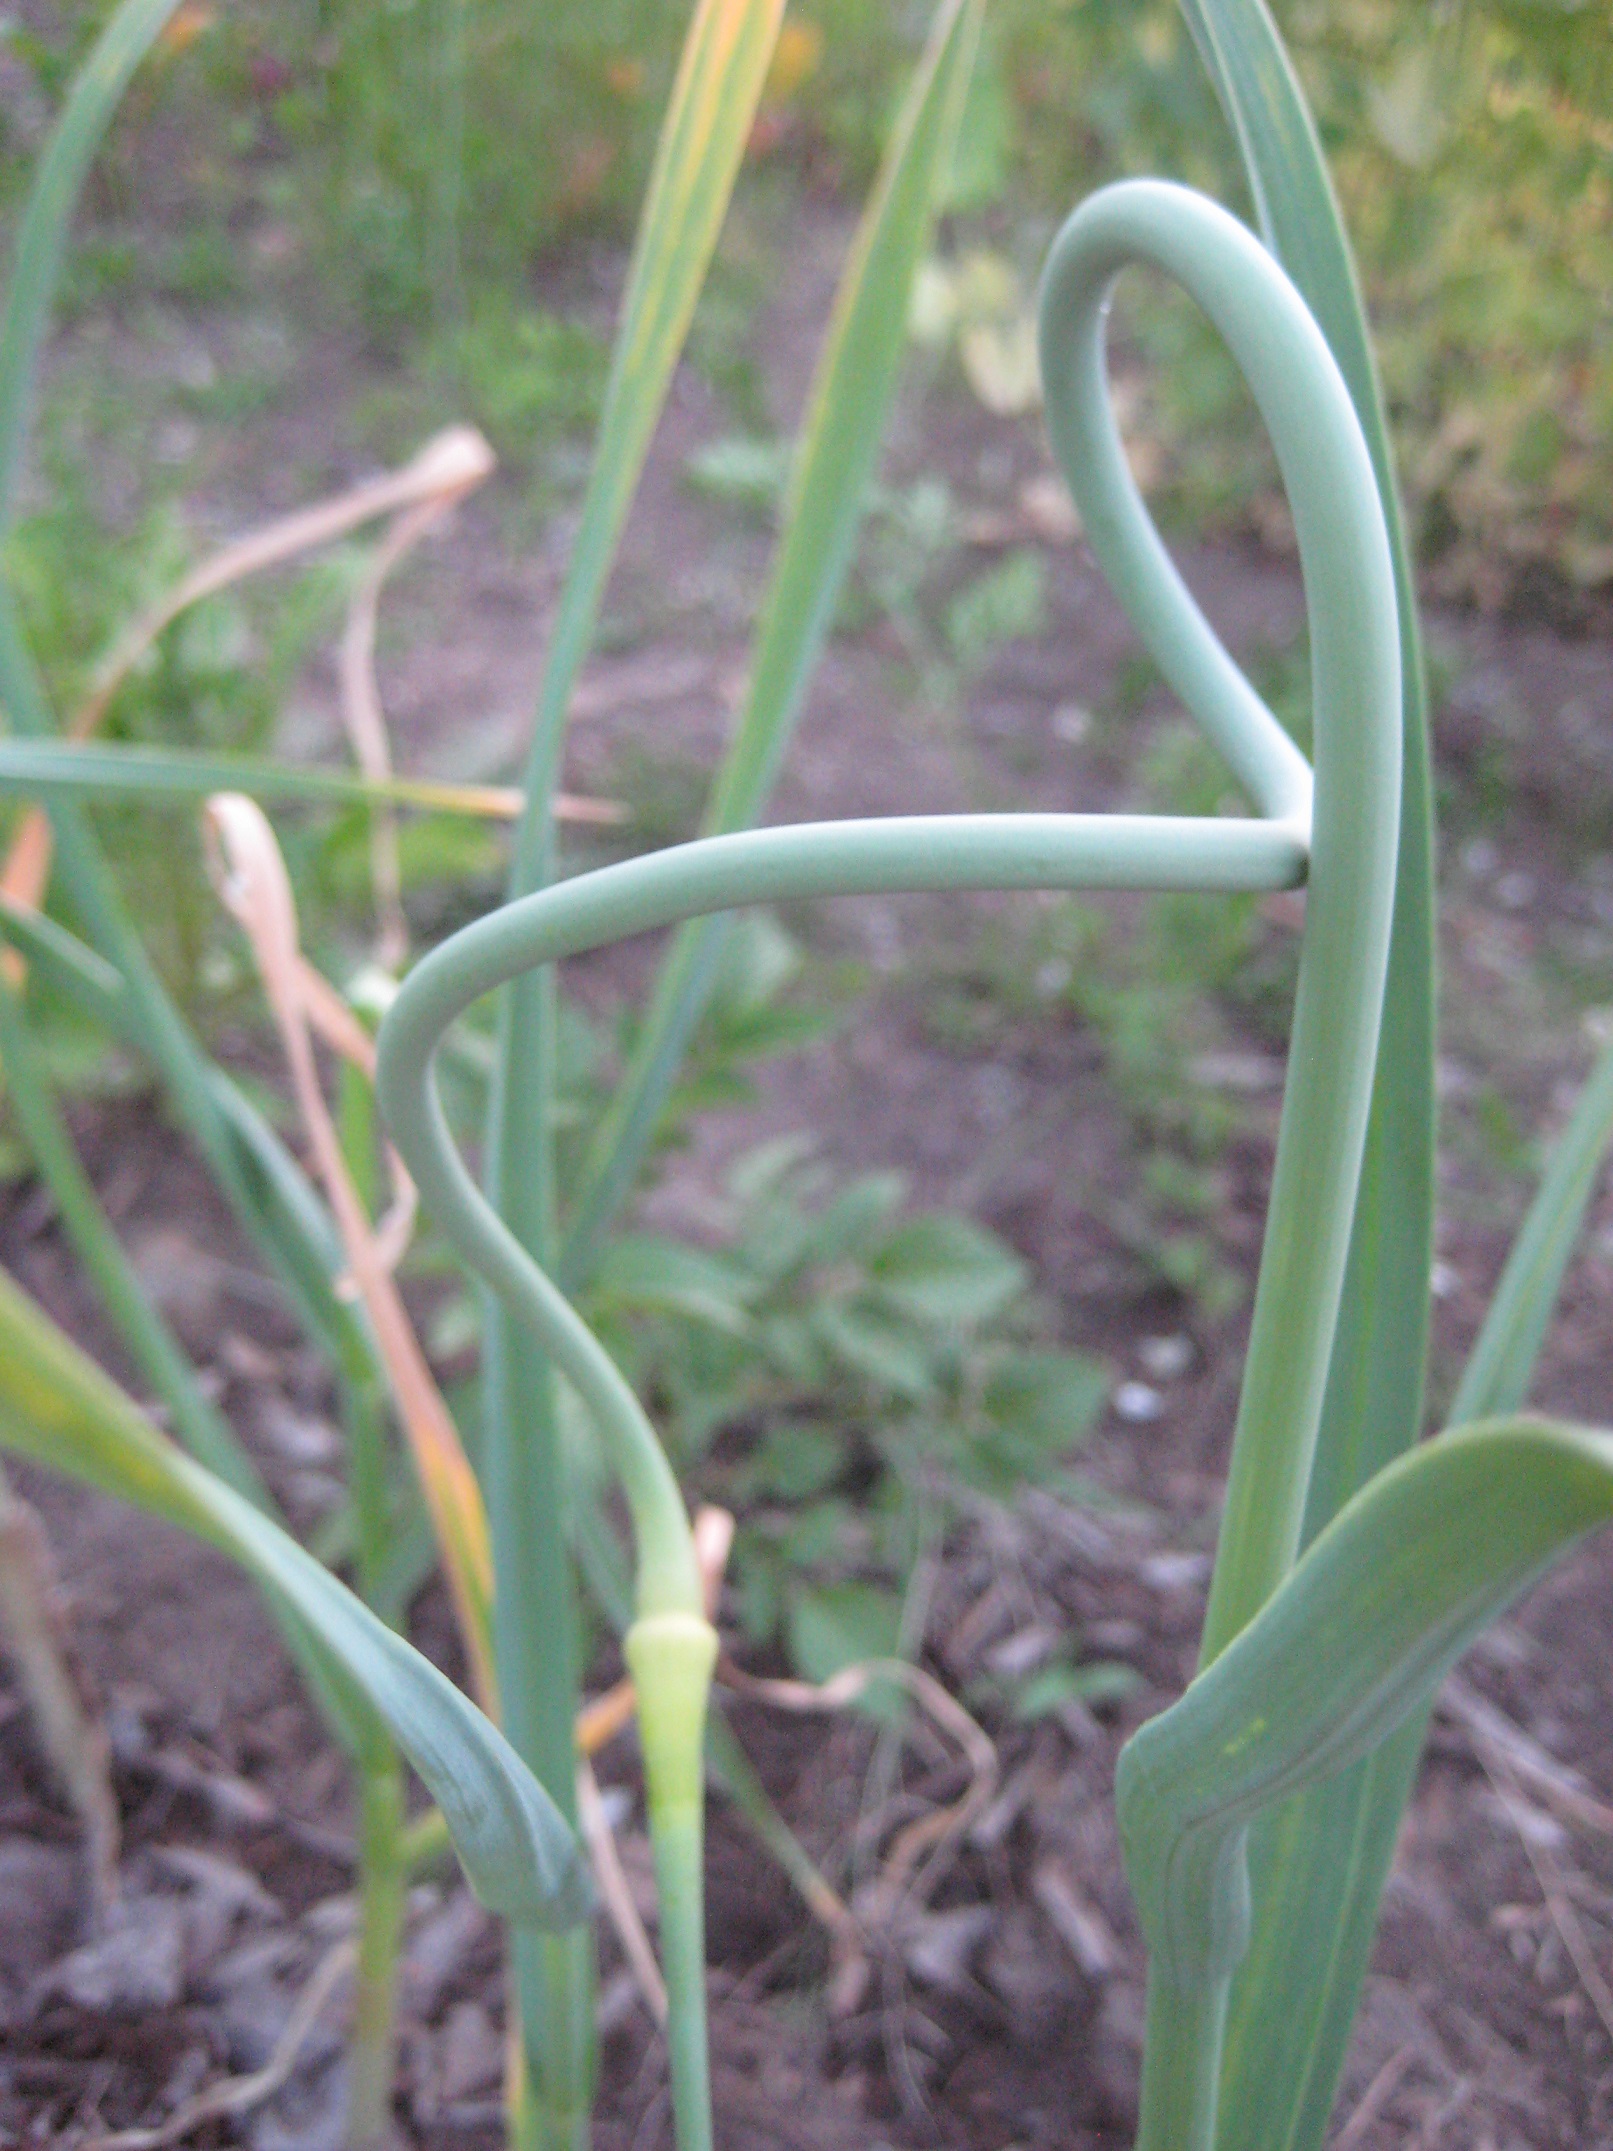
Hardneck garlic varieties provide delicious Scapes in May/June before the main crop in July
Cut garlic Scapes from hardneck garlic in May/JuneHardneck varieties send up a flower stalk (AKA garlic scape, garlic curl, garlic bracelet, garlic spear) around May or June. Before the stalk begins to turn woody, uncoil, and stand up straight, the stalk should be harvested/cut from the plant about ½ inch above the top plant leaf. This helps direct the plant’s energy toward the bulb.
Harvest garlic crop in June/July when all but top four leaves have turned brownAs harvest-time nears, the plants begin to dry and turn yellow/brown from the lowest leaf up and from the leaf tips downward, one at a time. Harvest when top four leaves are still mostly green. A spade, garden fork, or shovel is best for harvesting garlic but be careful to insert the tool far enough away from the plant that you don’t damage the garlic bulb.
Cure garlic for 3 – 4 weeks out of direct sunlight with plenty of air circulationPlants should be bundled in groups of 5 – 10 plants and hung inside out of directly sunlight with good air circulation. If fresh bulbs are left in direct sunlight for more than a few minutes they can actually sunburn or cook right in their skin! Bulbs are completely cured in three to four weeks in dry climates but fans may be necessary in other situations.
Store garlic in cool, dark location to prevent sprouting (do not store in fridge)Store your garlic as whole bulbs in a cool and dark place such as a basement or heated garage. Never store garlic in the fridge because it will sprout very quickly. Most garlic stores well at room temperature. Once planting season comes around again, start the same process over, using only the big cloves for planting and the rest for cooking.
Information adapted from Filaree Garlic Farm’s website.
For more information and details on garlic varieties, visit www.filareefarm.com