For the first time since School Gardens started, we’ve been doing Online Produce Sales (instead of the in-person sales we’re so fond of and used to). Even though we probably won’t do it this way forever, we are pretty sure this information will be handy. We wanted to compile some resources about how to work with different kinds of produce in your kitchen as well as some recipe ideas.
Some of the recipes we’ve linked to are recipes we’ve actually made, and others are recipes that just sound really good to us. We’d love to hear about recipes you might know of for specific fruits or vegetables as well.
You can always send us an email at info at lcschoolgardens dot org
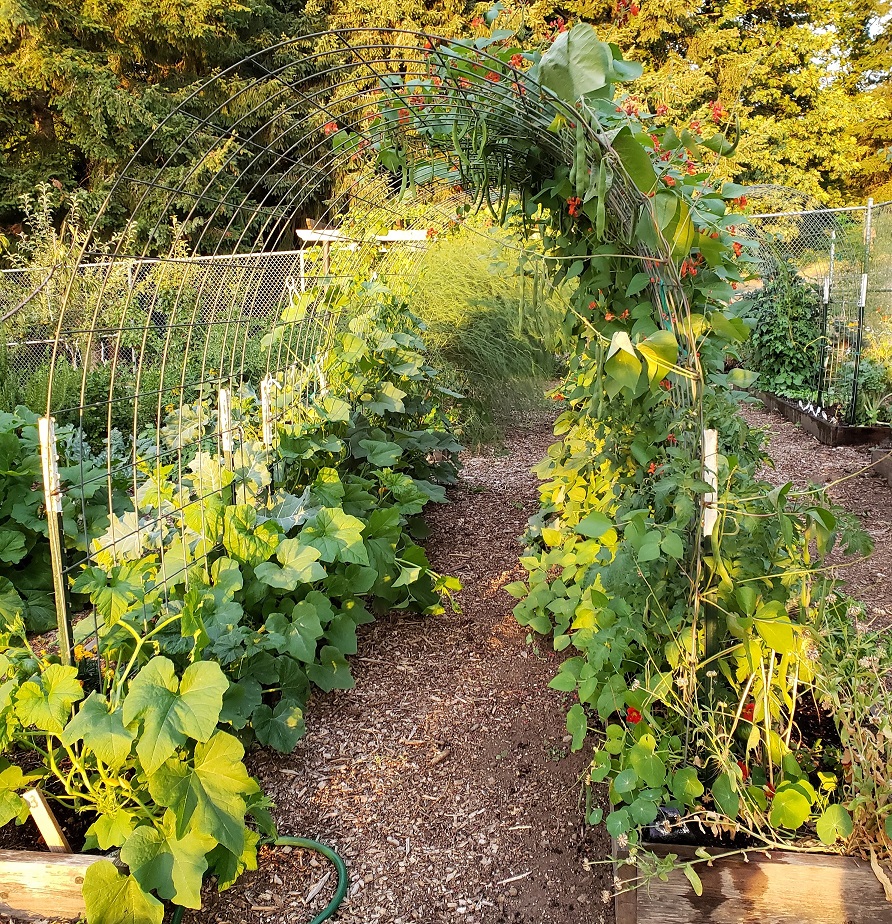
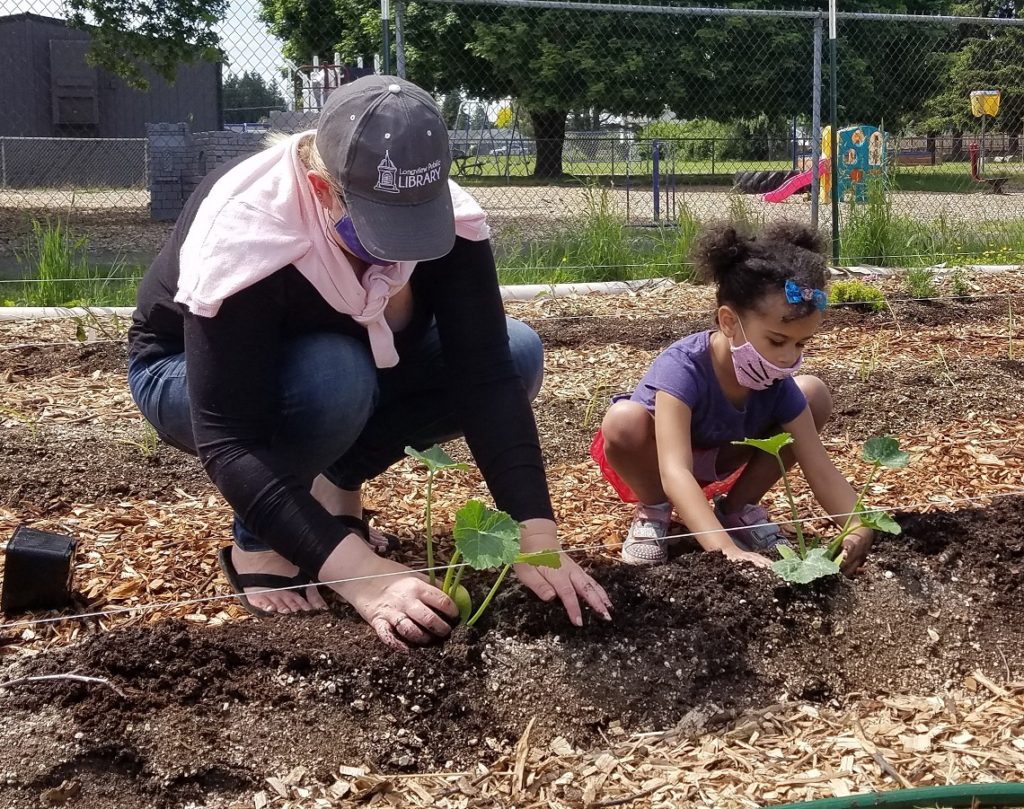
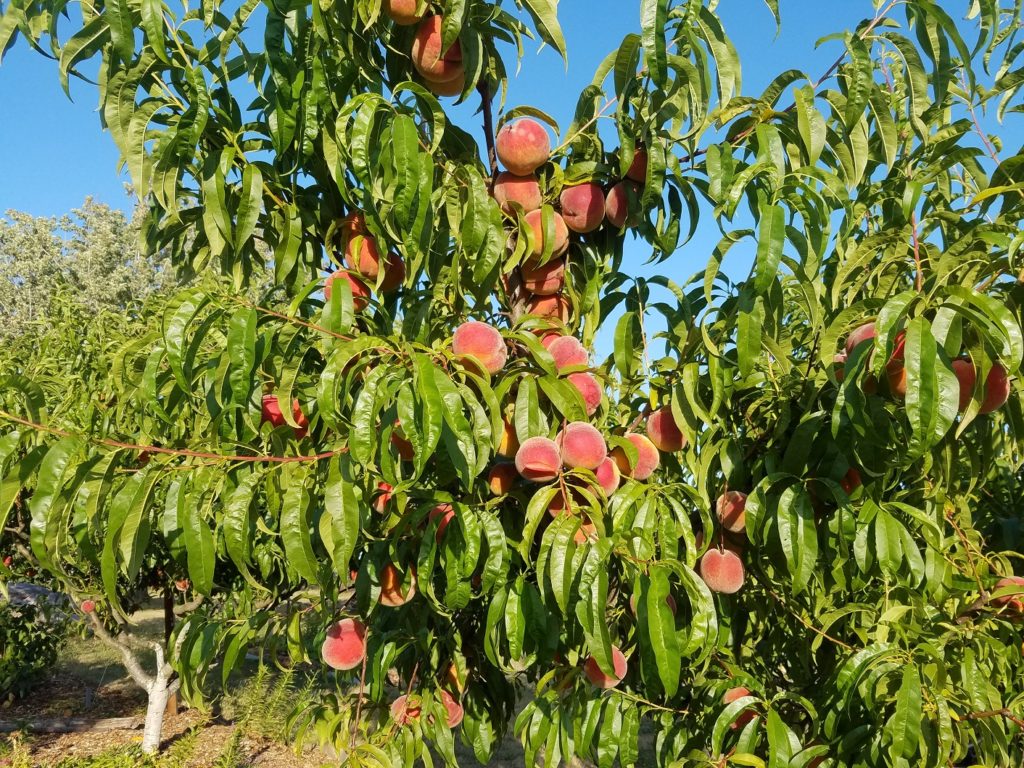
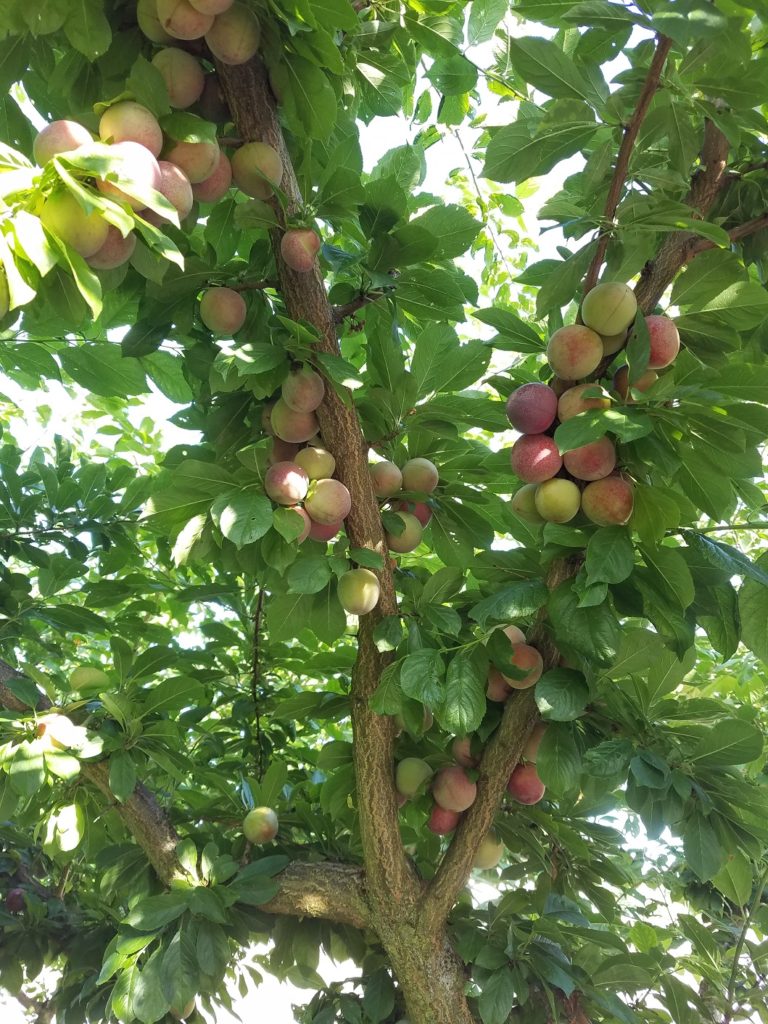
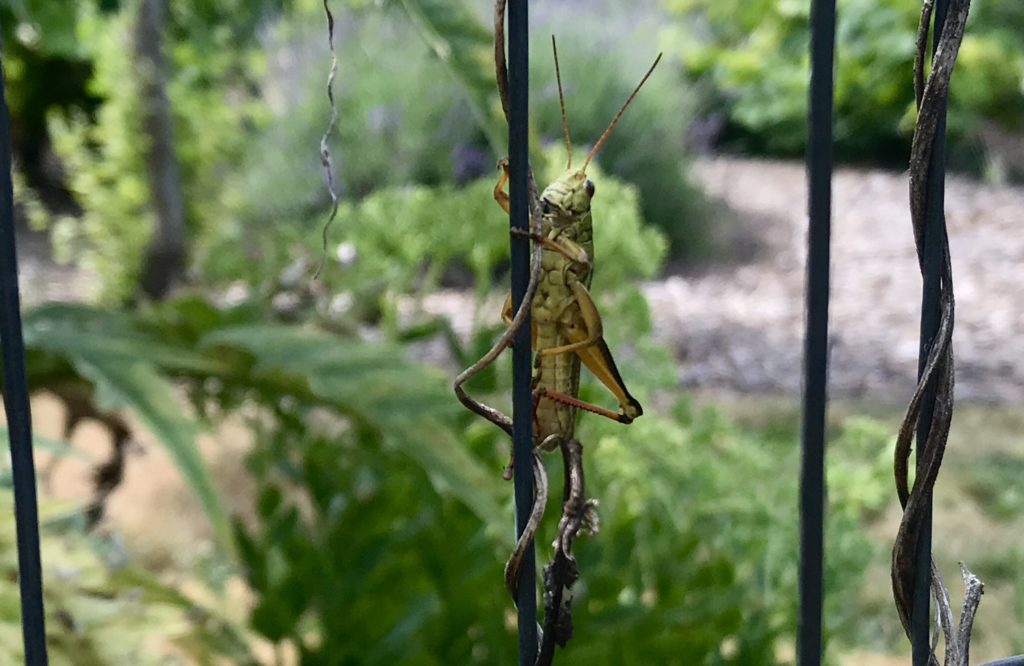
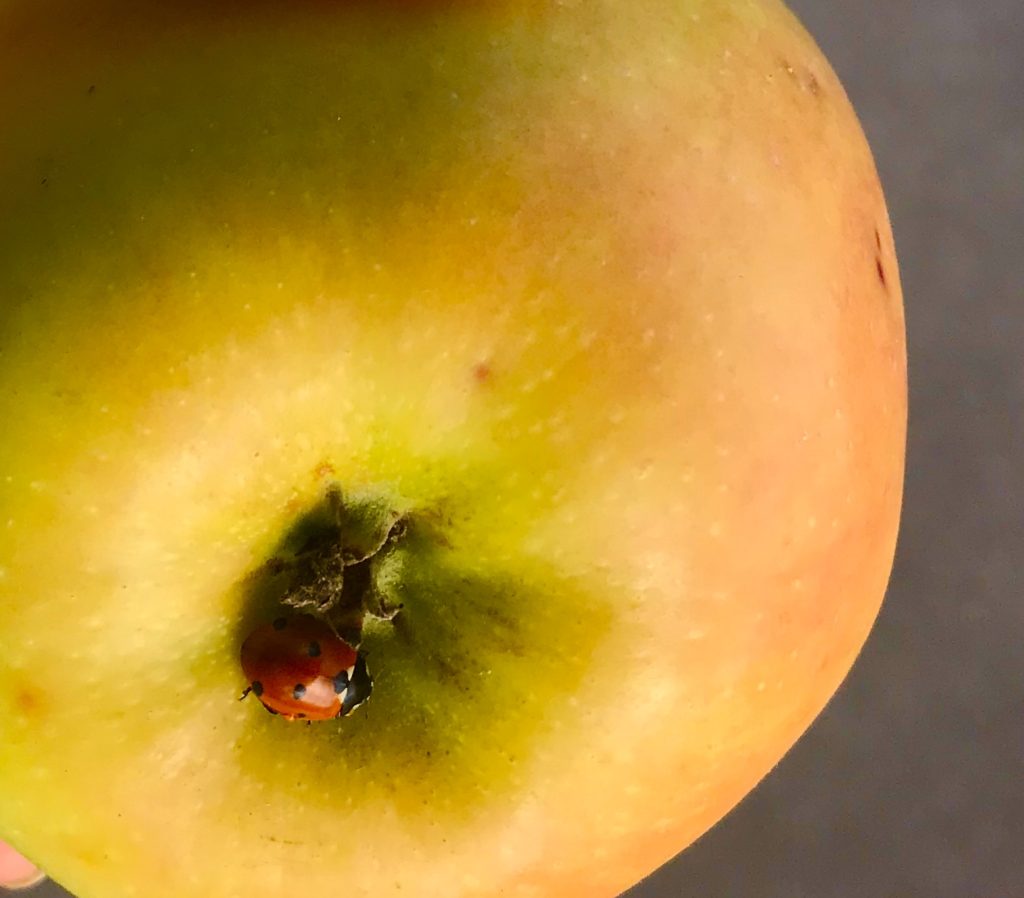
Pretty (delicious) Produce (Photo from LCSG)
This is also the first time that we’ve sold something we’re calling the Super Bag (aka The Bag of Abundance) which includes a variety of pre-selected produce all in one bag, for a set price each week. The contents of these “Super Bags” will change as the season progresses (and the price may increase as well based on contents), but right now they include:
A bag of Leafy Greens (hearty greens – kale, collards and/or chard)
A handful of other seasonal items – could include some of the following: snap peas, fava beans, rosemary, rhubarb, lemon balm, basil, cabbage, cauliflower, broccoli, carrots, berries, plums, potatoes, tomatoes and/or arugula
Recipes, info and tips
We may figure out a better way to organize this information at some point. If you use CTRL + F on your keyboard a box will pop up – you can type in a specific fruit or vegetable that you’re looking for and it will show you where that item shows up on this page.
Arugula
Wild Arugula (Photo from LCSG)
We’ve also been harvesting some incredibly beautiful arugula from one of our gardens…
Arugula has a slightly bitter, somewhat spicy flavor that goes well in salads (with walnuts, hazelnuts or almonds + pear or apple slices), to top a cooked pizza, mixed in with hot pasta just before serving, added to sandwiches, or eaten with peaches and hard cheese. So fancy!
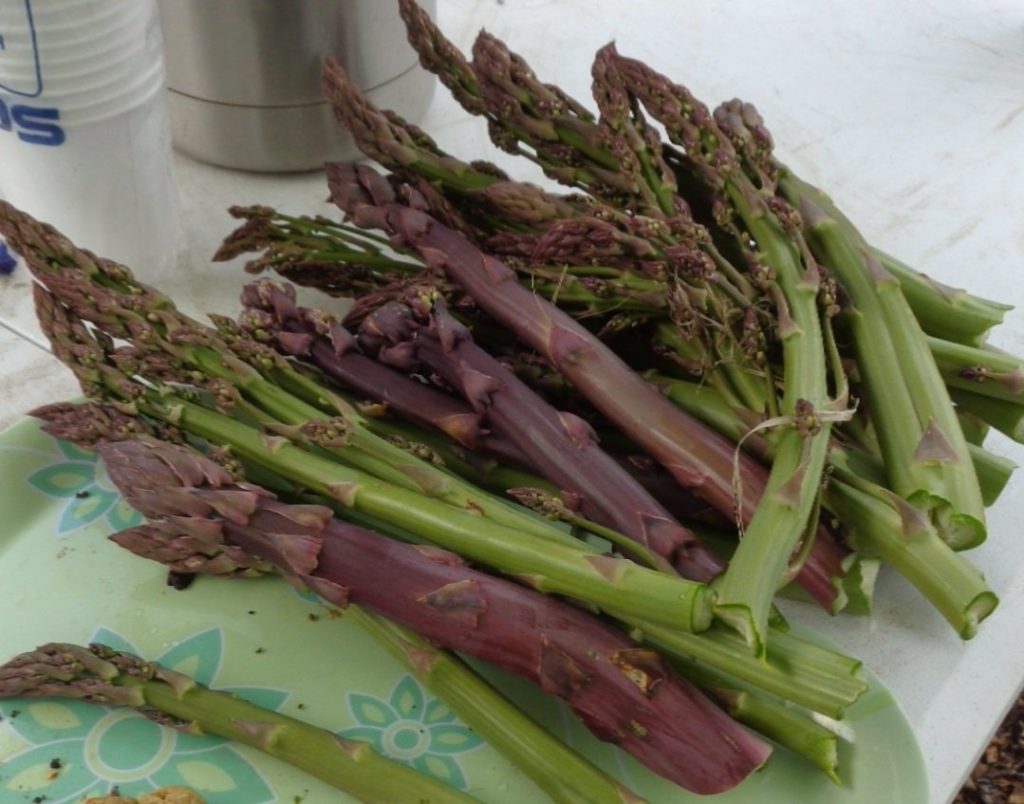
It has been tradition to have “Asparagus Week” during Spring Garden Clubs each year; harvesting the fresh spears with students, mixing them with a little olive oil, salt, and pepper and sometimes some minced garlic and throwing them in the camp stove to roast for a bit. They’re usually served alongside freshly toasted bread with garlic butter. Each year we are delighted when students taste asparagus for the first time and proclaim just how much they love it. We usually aren’t surprised – it is really really delicious. Here’s a recipe that’s somewhat similar to our style of preparing asparagus at School Gardens.
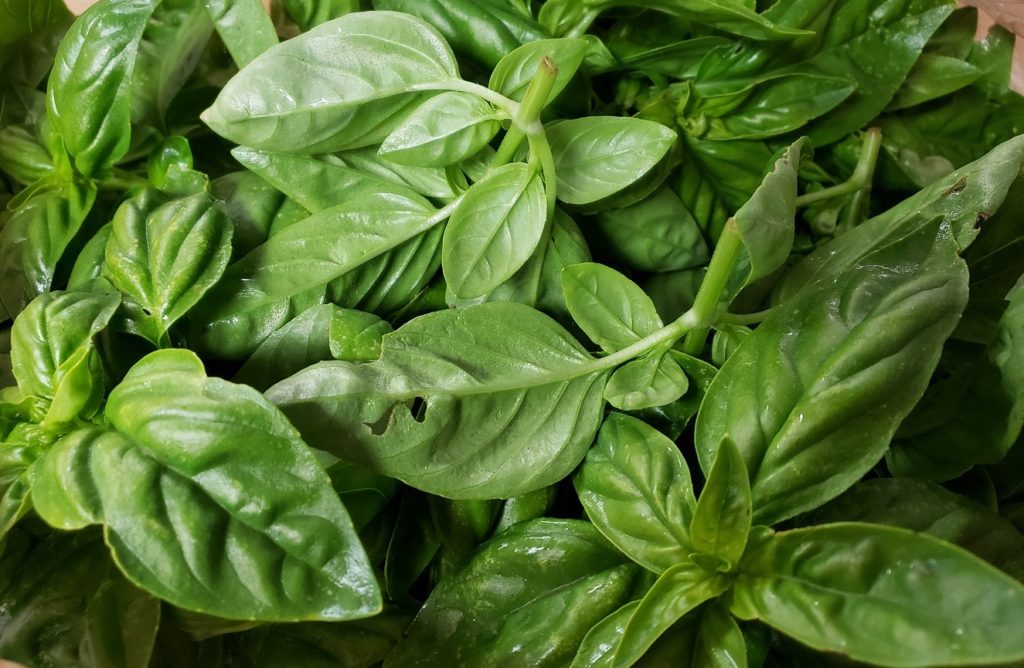
Basilsure has a way of brightening a meal, and just the fragrance seems like it can sometimes brighten a day. There are so many ways to enjoy this herb, but pesto definitely has to be near the top of the list for us, along with Caprese salad.
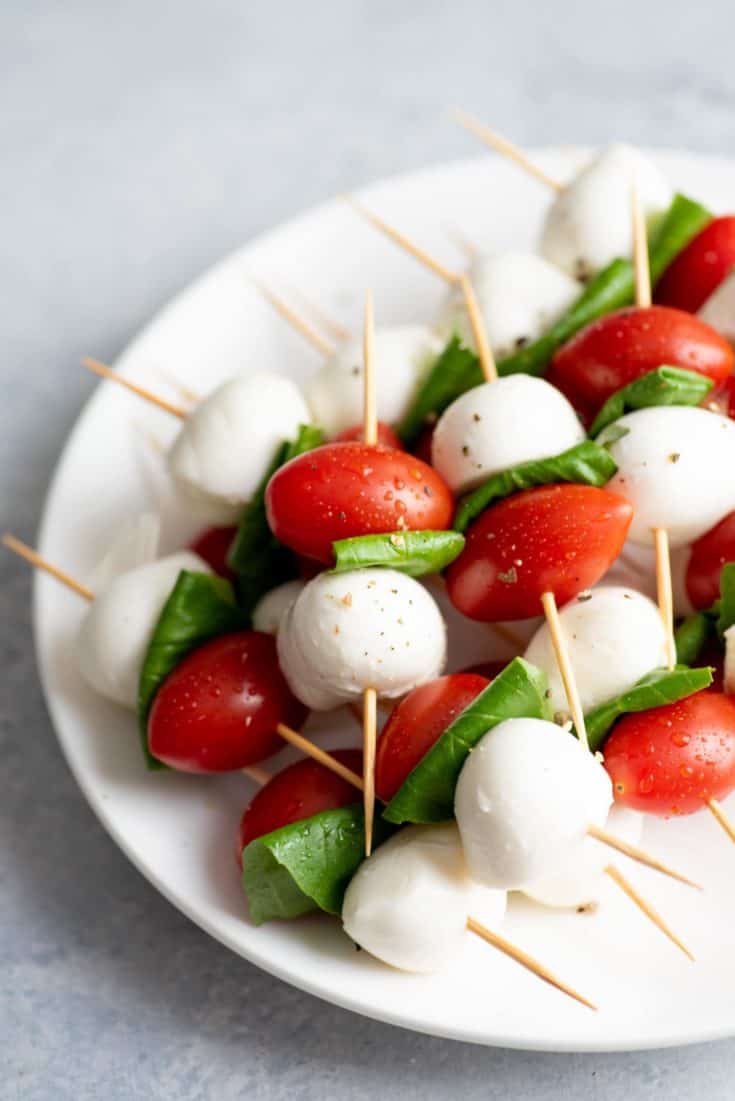
We often make Caprese salad (on a toothpick!) as a snack for our annual September Volunteer Training. That’s a time of year when the basil and tomatoes are both pretty abundant.
This isn’t the specific recipe that we use, but it’s pretty darn close:
These light and fresh Caprese Sticks are a quick protein-packed snack! They’re colorful, flavorful and ready for summer. PREP TIME 10 minutes TOTAL TIME 10 minutes YIELD 24 STICKS
Ingredients
24 long toothpicks
8 ounces fresh Ciliegine mozzarella balls
24 cherry tomatoes (about 1 pint)
12 large basil leaves, cut in half (or 24 small leaves)
Salt and pepper, to taste
Instructions
Thread a mozzarella ball, basil leaf (cut in half if large), and a cherry tomato onto a toothpick. Repeat with remaining ingredients.
Season with salt and pepper, to taste.
Notes Serve with a drizzle of olive oil or balsamic reduction for an easy and fresh appetizer platter.
Another dish that includes basil and often can include a lot of summertime freshness (cukes, tomatoes, peppers, onions) is an Italian salad called Panzanella. There are a whole lot of ways it can be made, but we’ll add a few versions here soon…
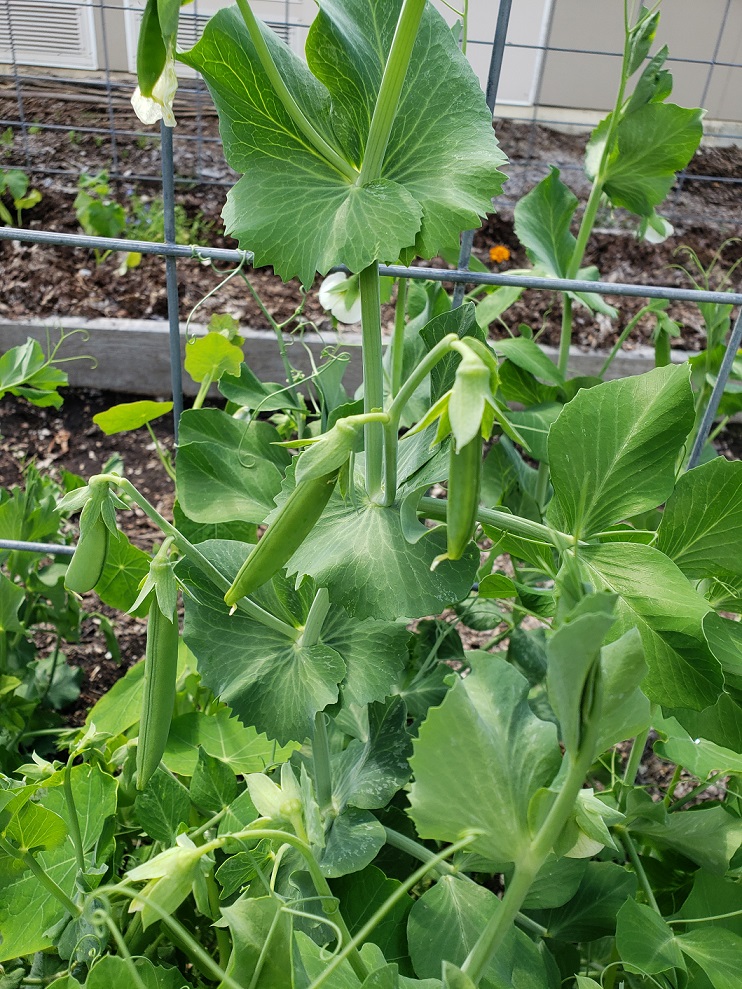
Snap peas are so delightfully crunchy and sweet in the early summer — and they are abundant in School Gardens during that season! We really like eating snap peas fresh (you can eat the pod and all!), added to a salad for some extra crunch, roasted with other veggies in the oven, or added to a batch of pesto.
Snap Pea Pesto Recipe adapted from https://www.lifeasastrawberry.com/5-minute-pea-pesto/ 2 cups fresh snap peas (the whole pod, w the “strings” and stems removed) 2 cloves garlic, peeled and lightly minced 1 tsp lemon juice 3/4 cup basil leaves 1/4 cup walnuts, pine nuts or almonds salt and pepper to taste 1/2 cup olive oil optional: 2 TBSP shredded hard cheese like parmesan or pecorino
1. Place snap peas, garlic, lemon juice, basil, walnuts (and cheese if you’re including it) into a food processor. Pulse a few times until everything is coarsely chopped.
2. While the food processor is running, slowly stream in olive oil and let the processor run until everything is incorporated into a smooth paste. Scrape down the sides of the food processor with a spatula and pulse one more time to incorporate those bits.
The pesto will be thinner than your usual basil pesto — this is because of the moisture content in the snap peas. Another way to make the recipe would be to roast your snap peas in the oven before including them.
Delicious on toast, mixed in with hot pasta, or used as the base for a salad dressing.
A salad that includes carrots and snap peas, with a dressing made of hoisin, lime juice and fresh ginger (if you don’t have hoisin on hand you could substitute soy sauce or miso paste, and powdered ginger could work in place of fresh) https://www.bbcgoodfood.com/recipes/carrot-sugar-snap-salad
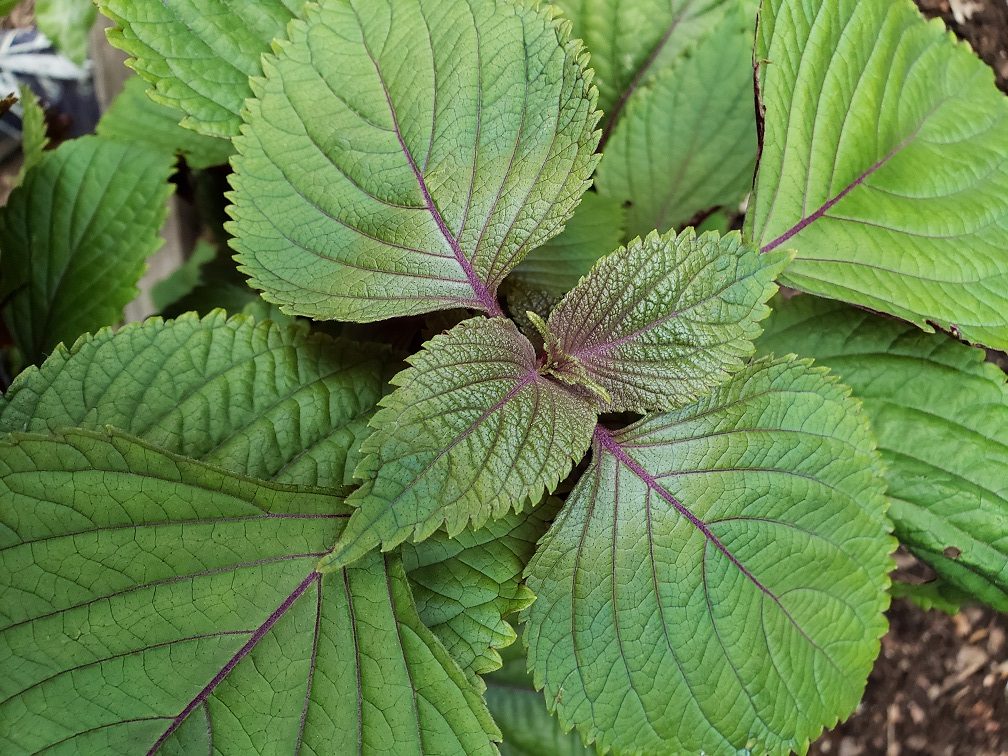
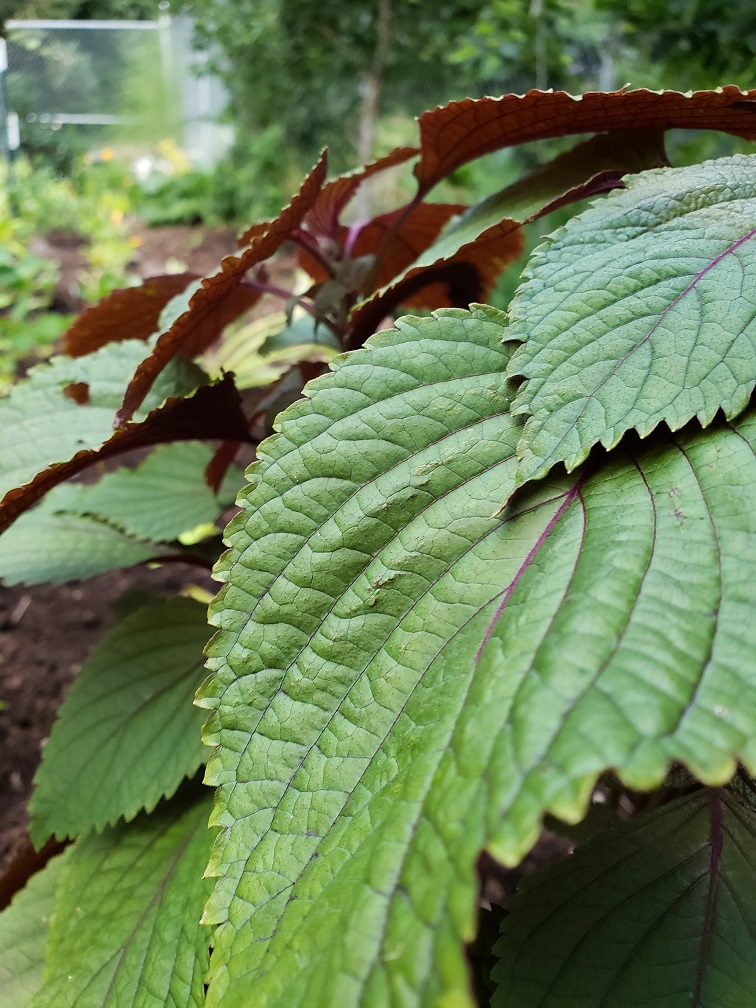
Shiso plant (Photo from LCSG)This variety of shiso, called ‘Oriana’s Tia To’ is green on top and the underside of the leaves are a purple/crimson color. (Photo from LCSG)
In years past we have tried to grow shiso but have done so with donated seeds and often had some trouble with germination. This year our Horticultural Coordinator ordered shiso seeds from one of our favorite seed growers, Uprising Seeds in Bellingham, WA.
The variety they grow is called Oriana’s Tia To and the description from their website reads:
Perilla frutescens An eye-catching plant notable for its beautiful color contrast of green leaf tops and vibrant purple leaf bottoms, with a pleasantly pungent aroma. This particular variety likely stems from the Vietnamese Tia To, although Chicago-area Paw Paw and Asian Pear farmer Oriana Kruszewski has let it self-sow on her farm for 20 years now, and its original provenance is lost to history. Eric and Erica loved the deep flavor and vivid color of Oriana’s shiso, but she had no seed, so they set a flowering bunch in a glass of water and matured seed on a Chicago windowsill. Oriana reports that it is excellent for making umeboshi, all kinds of pickles, and tea. A surprising hit in the heat of summer is fresh leaves brewed as a sun tea, lightly sweetened with honey and carbonated to make a shiso soda. The serrate leaves may be picked at any stage, and both flowers and leaves may be dried and used in tea. 2-3′ plants when grown outdoors, but reaching head height if left to mature in a greenhouse. And if you find, like we do, that your plants are overly abundant, the addition of them to a flower bouquet is as pleasing as it is fragrant!
We’re still learning new ways to use this beautiful herb, but we do know that it is sometimes called ‘Japanese mint’ or ‘perilla’. A Garden Friend recently shared this link with us after noticing our shiso plants when passing by the Northlake Garden one day.
Please let us know if you are familiar with this lovely herb and have some favorite ways to use it.
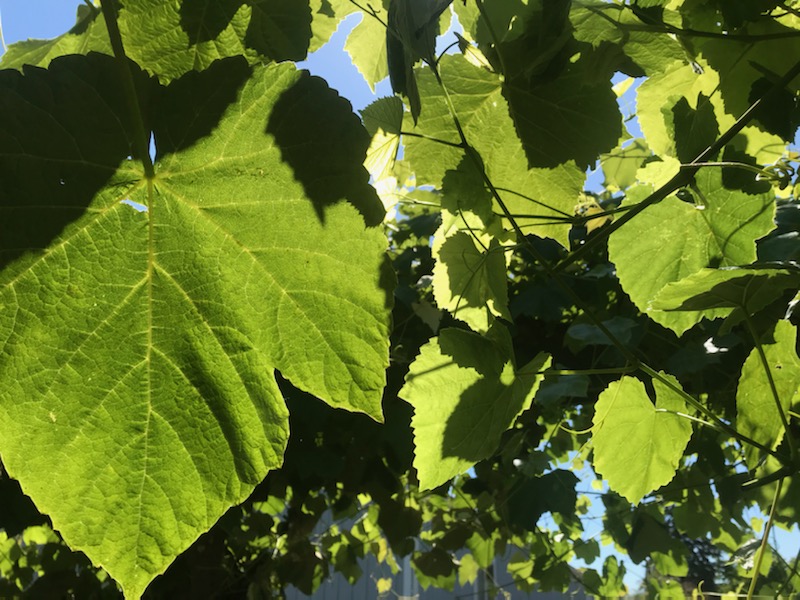
Grape Leaves
Grape leaves still on the vine (Photo from LCSG)
Recipe for Dolmas This is another delicious dish that has become a tradition to make for our annual Volunteer Tea. (Unfortunately because of covid regulations, the Volunteer Tea did not happen as normally scheduled. We’re hoping to still find a good way to honor and acknowledge the folks who have been helping out with keeping the gardens going through this strange season.) The recipe was passed along to us by a dear friend (and founder) of School Gardens, Dr. Lee Ann Gekas. We usually scale the recipe up in order to make about 150 dolmas, but the recipe below makes 40 – 50 instead.
Adapted from Adele Gowdy — Lebanese cook extraordinaire!
1 lb fresh grape leaves 1 cup uncooked short or medium grain rice 2 bunches parsley chopped 1 can (15 oz) chickpeas 2 tomatoes chopped 1/2 cup olive oil lemon juice from 1-2 lemons 3-4 cloves garlic 2 tsp salt 1 tsp allspice 1 yellow onion finely chopped can also add mint, and pine nuts or walnuts
Pour hot water over the fresh grape leaves and set aside for 10 minutes. Rinse and drain chickpeas well.
Rinse and drain rice well.
Saute garlic, onions in olive oil. Take off stove. Mix with rice, parsley, chickpeas, tomatoes, and nuts and/or mint if using them. Add salt, allspice and a bit more olive oil and mix well.
Stuff leaves with mixture – clip stems off with scissors; start with the shiny side of the leaf down (inside of the grape leaf is the inside of the dolma). Arrange in rows in a deep cooking pot. Add enough water or broth to cover the top of the dolmas. Place a round flat plate on top of dolmas then a glass jar of water on top of plate to prevent the rolls from loosening while cooking. Squeeze half a lemon’s juice over each layer, plus a few extra cloves of garlic for more flavor.
Simmer for 90 minutes. Check on amount of liquid part way through cooking to be sure it hasn’t all evaporated. Add more as needed.
Tips on harvesting grape leaves: Bigger is not better – 7 or 8” across is plenty big. Leaves should be light green, and very tender. The best are those below the new growth at the top of the plant and above those close to the grapes. Rule of thumb: count down three leaves from the new growth at the end of the vine, and pick the next 2 to 3 leaves, then move on to the next stem. Store covered in fridge. To prep for assembly, cover leaves with boiling water for 10 minutes.
Grape leaves are also used fresh in some pickle recipes to help pickles stay crunchy!
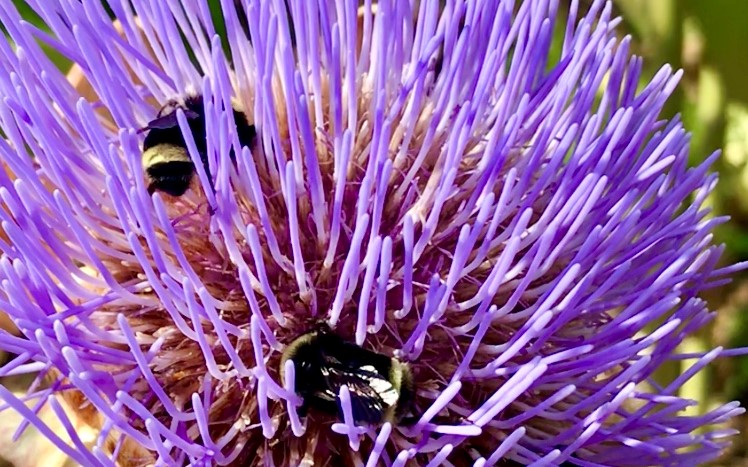
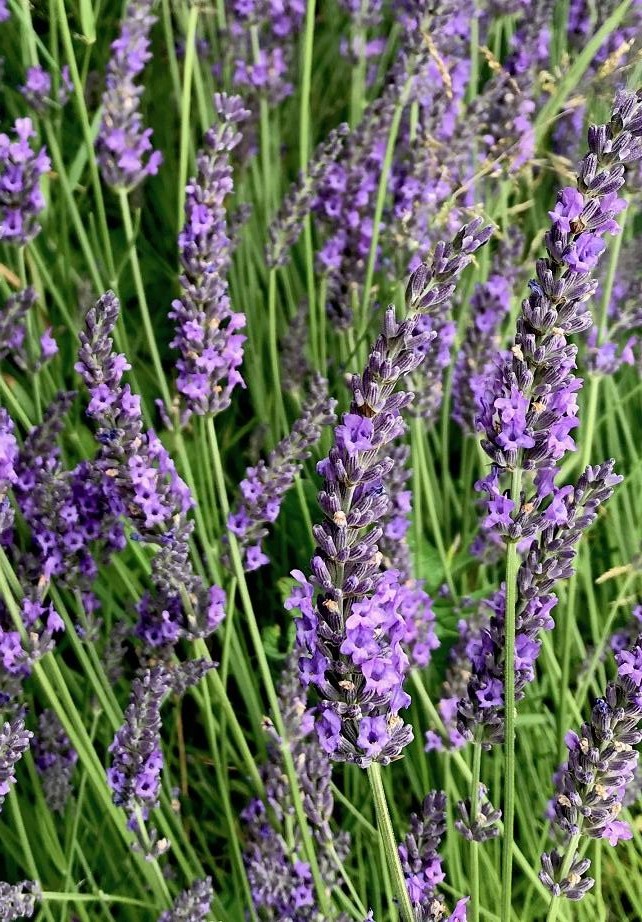
Lavender doesn’t just smell amazing and look beautiful, it can also be used in the kitchen! (Photo from LCSG)
Lavender is often grown as an ornamental, but really has so many uses! At LCSG we mainly grow “Grosso” and “Royal Purple”, but there are a few unnamed varieties growing in our gardens as well. Lavender is beautiful to look at and to smell, but it can also be used in cooking (in small amounts) and craft projects of course.
One of our favorite ways to enjoy lavender is in this recipe for Lavender Shortbread:
Lavender Shortbread
Ingredients
2 tsp dried lavender, and 2 tsp fresh lavender (this recipe only calls for the dried but I added the fresh to give it more of a kick)
2 Tablespoons minced mint leaves
3 sticks (3/4 pound) salted butter, at room temperature
1 cup brown sugar
1 tsp vanilla extract
5 cups all purpose flour
Directions
Finely mince the lavender
Mix together the butter, sugar, mint and lavender until combined and spread around the bowl.
Add the vanilla and mix just until it disappears.
Add flour to the bowl, and mix together until a dough ball forms.
Roll the dough out on a baking mat about 1/2″ thick, then cut desired shapes. Squares, rectangles, and circles all work well. You can also just roll little balls and squish them lightly as a shortcut.
Place the cookies on a sheet tray, and refrigerate for 1 hour
Preheat oven to 350F.
Bake the cookies for 20-25 minutes, until the cookies are lightly golden brown on the edges.
If you’d rather not eat your lavender, you could use it to craft this neat project: Lavender Wands.
If you’d rather not get fancy, you can also just bundle your lavender tightly with a ribbon or rubber band and suspend it from a hook or string in a warm location with good airflow where it can dry. Lavender maintains its fragrance for a very, very long time.
Fava beans are usually a springtime treat. They are often grown as a cover crop in the fall or winter. Cover crops are plants that help replenish the soil and keep it from washing away and/or adds nutrients that have been used up by other plants or crops. Not only are the beans edible, but the flowers and leaves are as well.
Ground cherries are a student favorite in the School Gardens. These cute little fruits from the tomato family come individually “wrapped” in their own papery husk, similar to the husk of a tomatillo.
Ground cherries are also known as “husk cherries”. The variety that we grew this year at LCSG is called “Aunt Molly’s” and the seeds came from Fedco Seeds.
This article from Smithsonian Magazine has some great information and includes a few recipes for using your Ground Cherries. It should be known that they are also just really delicious fresh out of the husk.
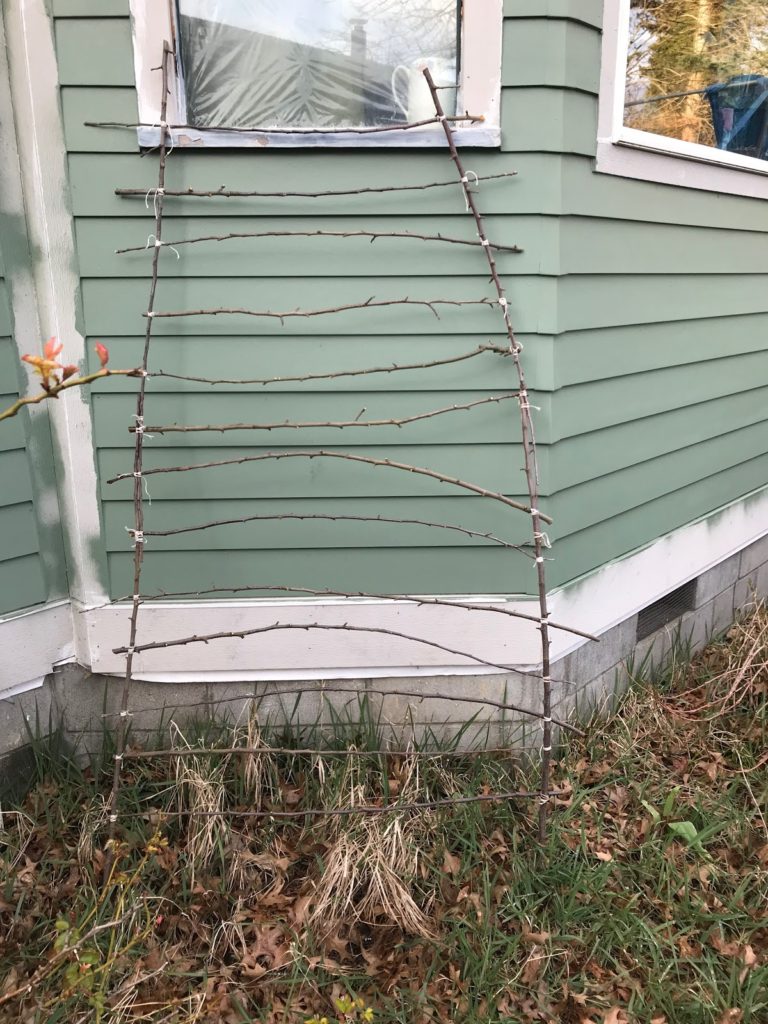
Some of you may have noticed we recently ran out of materials to assemble trellises for the snap pea porch pots. We’ve still been sharing those container gardens but y’all will need to get creative with your own trellis-building!
Yum! Cascadia Snap Peas freshly-harvested from a school garden
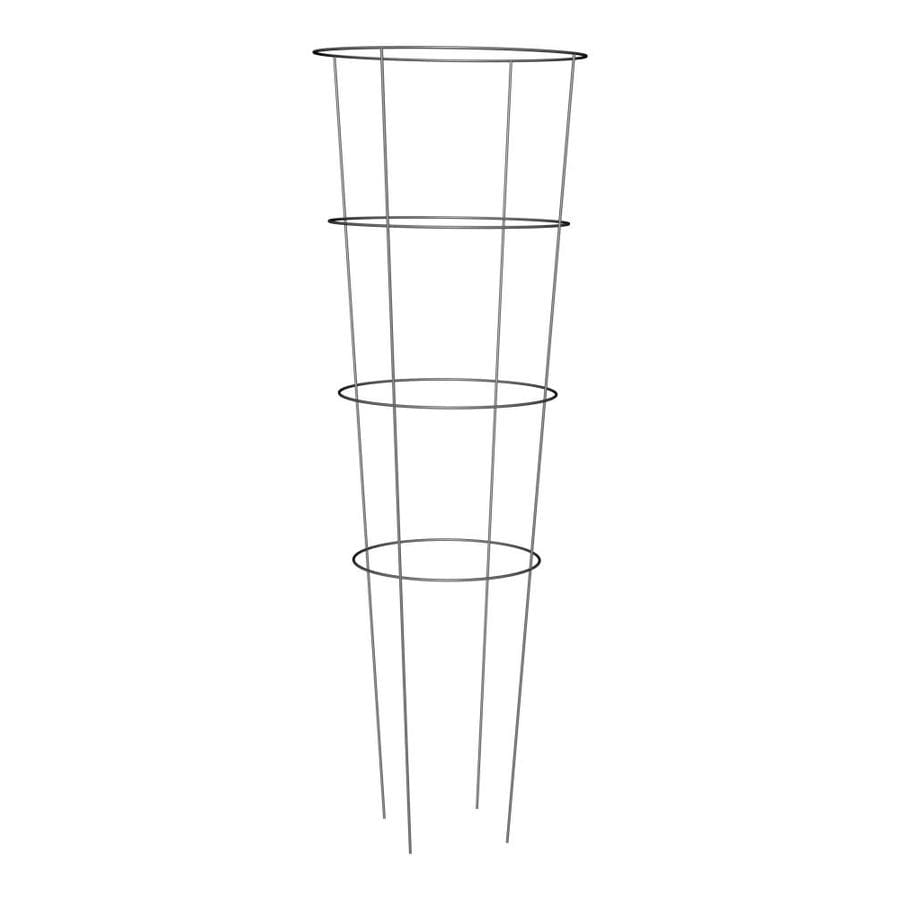
If you have any circular metal tomato cages around, those are just right for trellising snap peas in a bigger pot (they also work well for cucumbers and other vining plants – not just tomatoes!). They often are available in some fun colors, too.
Metal tomato cage
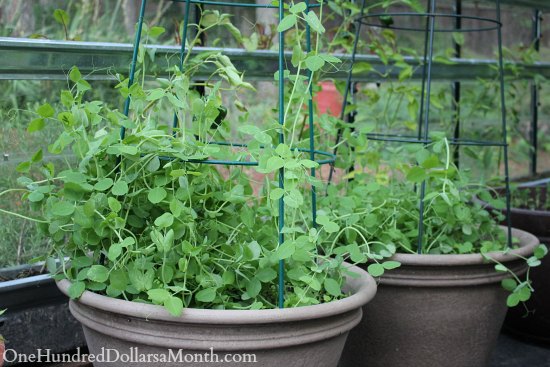
Here’s a great photo from One Hundred Dollars A Month of a tomato cage being used as a snap pea trellis. They’ve gone the route of flipping theirs upside down, but that leaves some pretty pokey bits sticking out and in our experience it works just as well right-side up. (Don’t get confused if you visit their site and see gardening tips – they live in Maine so the climate and seasons are somewhat different than ours in the Pacific NW.)
These peas are growing in pots with tomato cages for trellising
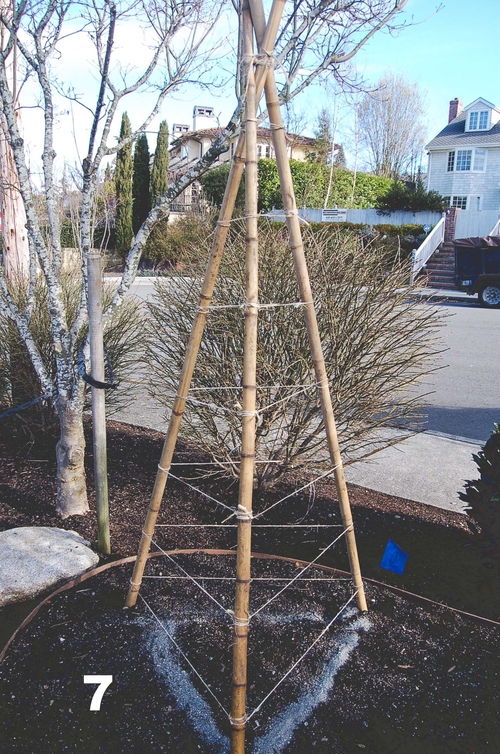
This Pea Tripod Tutorial from Seattle Urban Farm Company is pretty simple and could be done with smaller/shorter sticks fairly easily, to make it fit into a container garden.
Finished pea tripod from Seattle Urban Farm Company tutorial
Thank you for making this happen – your donations totaling $10,000 have poured in over the last few months. We will now send that to The Health Care Foundation who will in turn write a check for $20,000 to support local school gardens.
As you may know, everything we do is made possible by private donations (40%) and grants (60%). All the weekly garden and cooking programs that we design and run (serving 2900 students last year); all the sheds, fences, raised beds, irrigation lines, and trellises that we install; all the tools, microscopes, fruit trees, seeds, plants, fertilizers, soil, etc that we buy; all the harvest festivals, Earth Day, STEM events, volunteer trainings – all this is made possible by the generosity of people like you. The success of this matching grant puts us closer to what we need to bring in this year to continue to provide and expand these services (still seeking $21,000 more in general donations and $20,000 from our Fall Harvest Event).
You’ve heard this before, but can I say it again? 5 years ago there was one school garden in these parts; today there are thirteen. This was not a federal, state, or district initiative; rather, this was our community saying “This needs to happen. This kind of hands-on learning centered around nature and real food is not just kinda neat, it is essential. And every child deserves to have the opportunities and experiences that a school garden provides.” Lower Columbia School Gardens formed in 2010 to answer that call, and we have been going full tilt ever since. Thank you for partnering with us every step of the way.
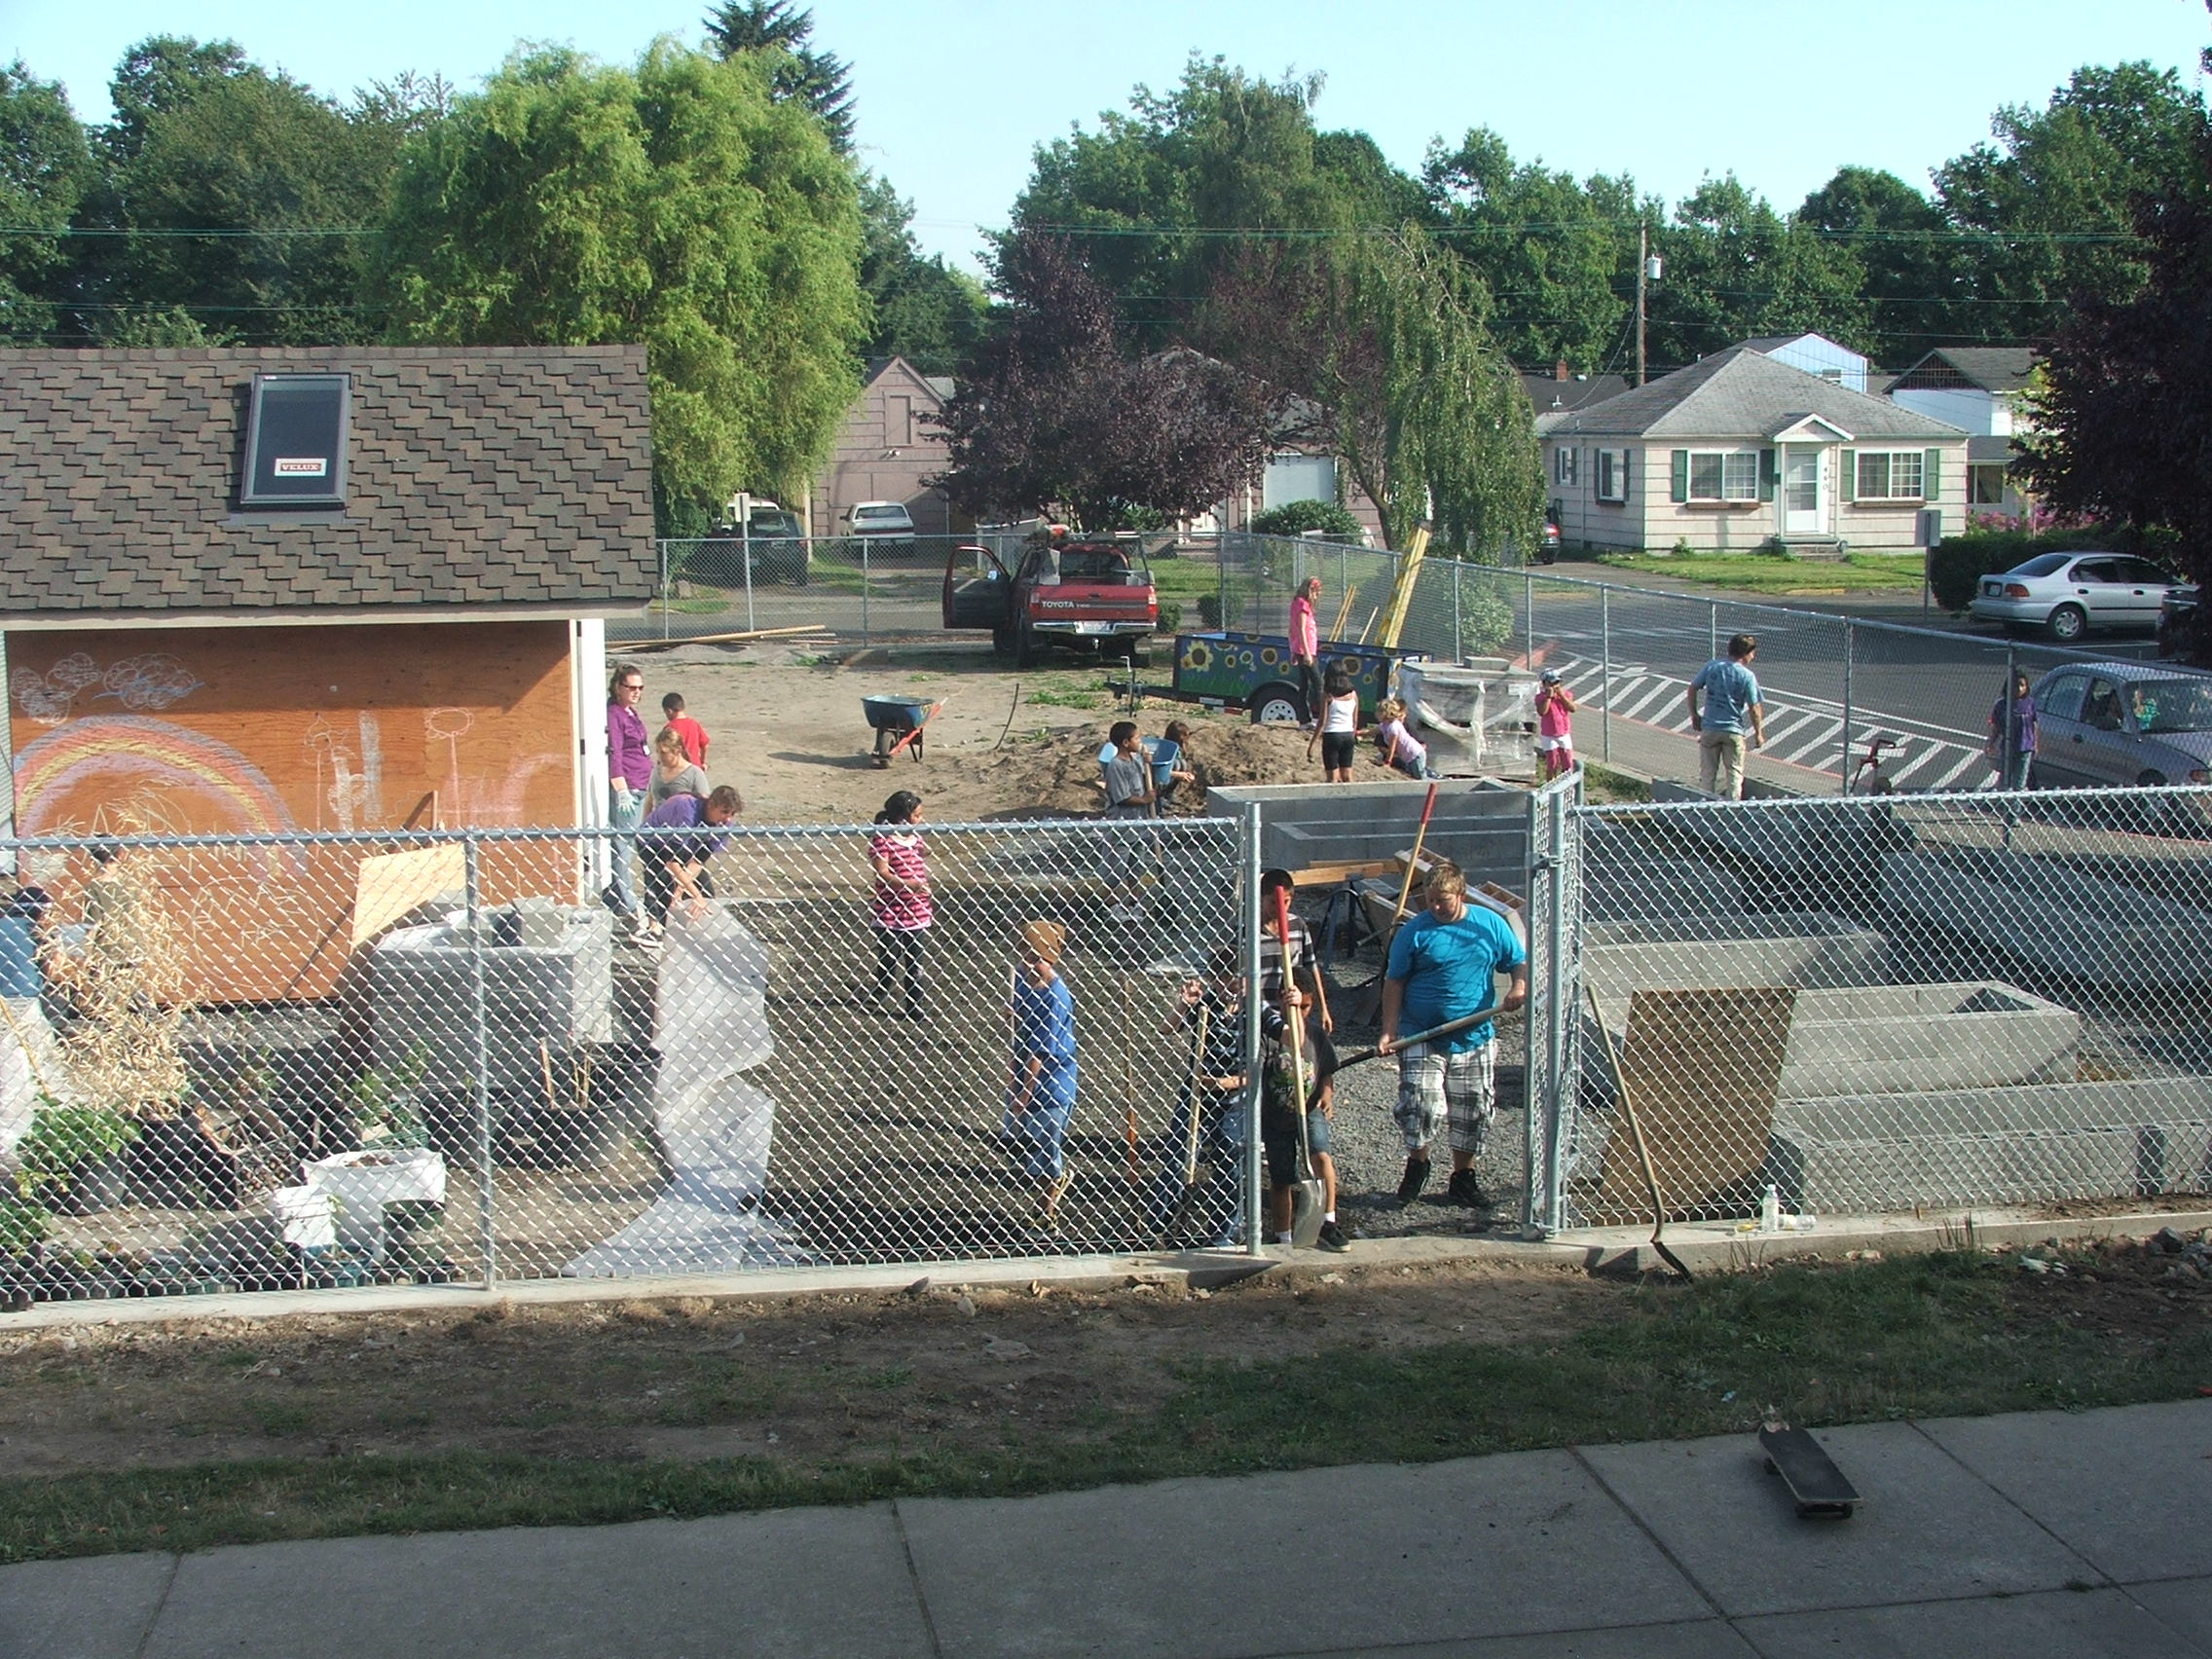
So much has happened in 2011! It’s hard to believe it all took place in about 8 months. Made possible by major grants from the Cowlitz Fund and Lowe’s, generous donations from local families and businesses, and LOTS of hard work by adults and kids alike. Here are a few of my favorite St Helens moments:
Ryan's Tractor Service donated lots of time doing initial excavation and waterlines. Tim Alwine hauled 8 dump truck loads out of there! Remember what a soggy June it was?
Wayne Alexander and crew pour concrete donated by Knife River Concrete.
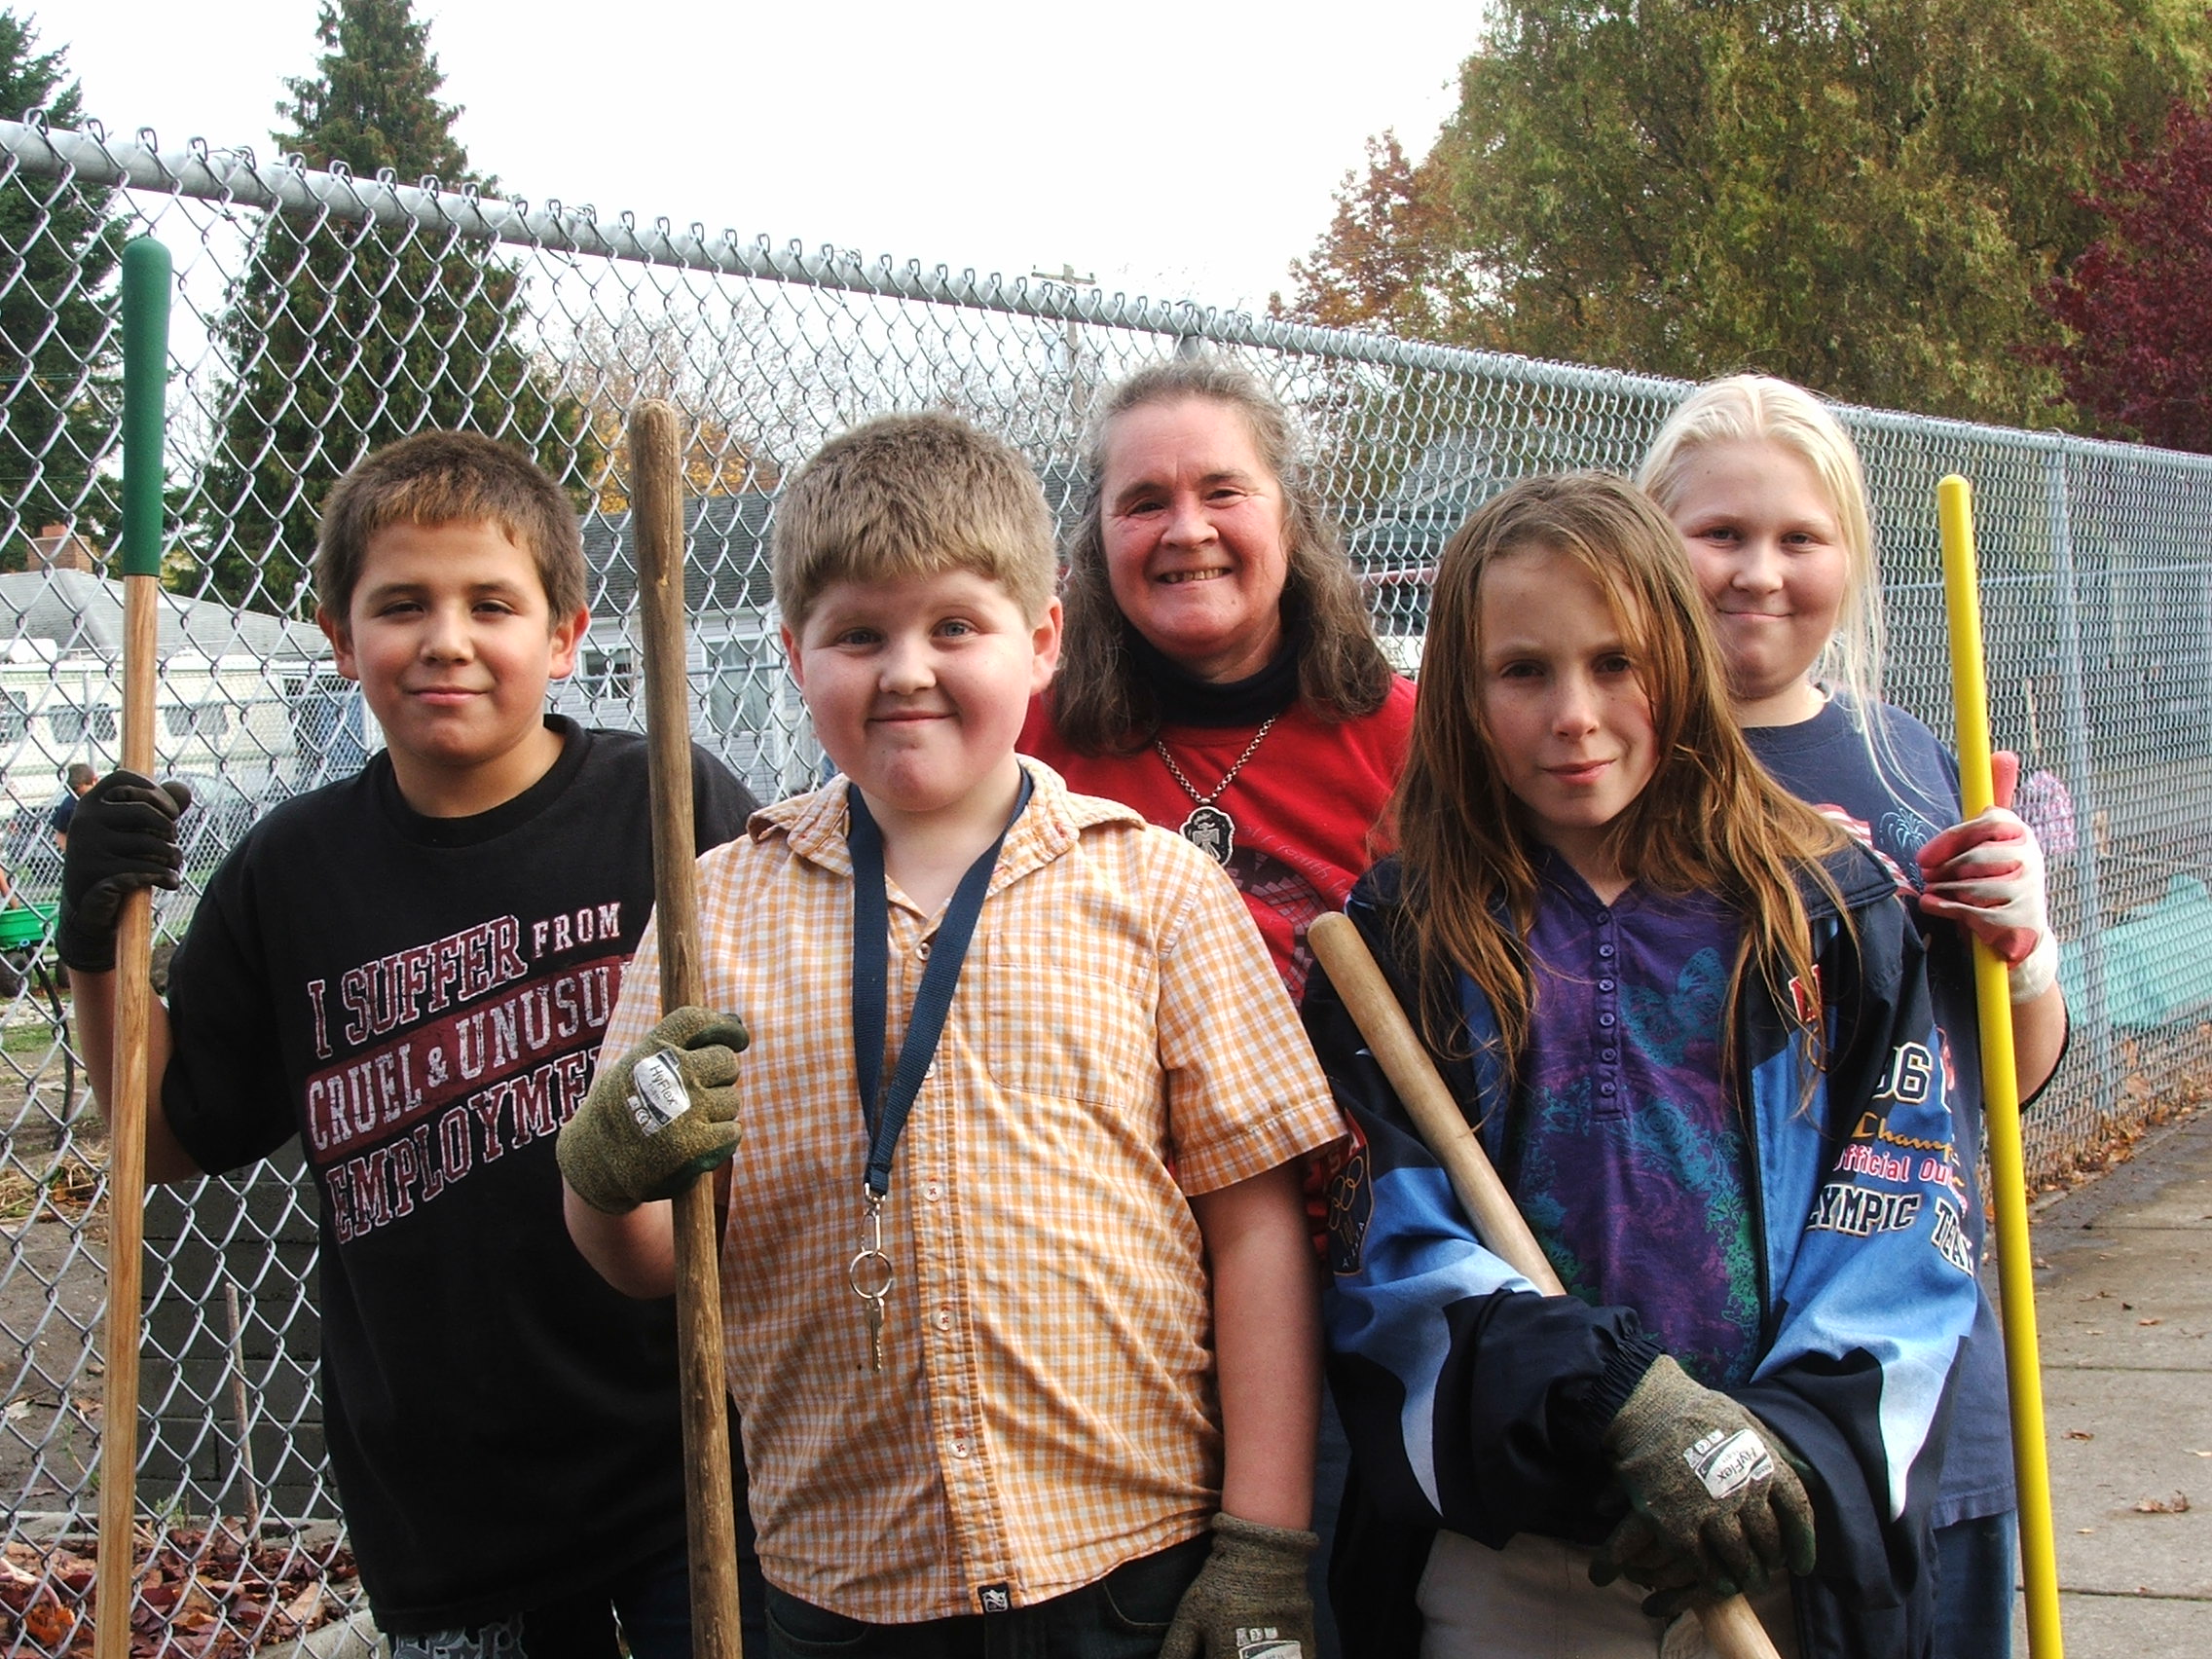
Neighborhood kids came out of the woodwork in the summer to help. Dr. Darin gives a lesson on proper hammer technique.
These volunteers put in A LOT of hours over the summer!
Kyle and Mikail said “You HAVE to tell the other kids that we helped build this shed when school starts, because they’ll NEVER believe us!”
Squaring up the shed floor with Parks and Rec Summer crew.
Working at recess - check out the kids outside the fence.... "No fair!"
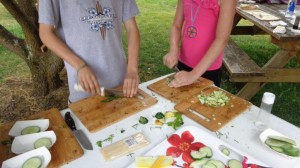
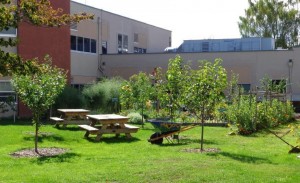
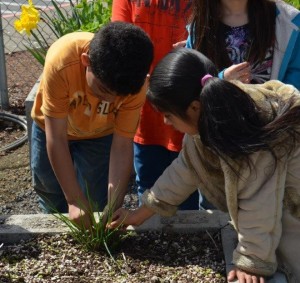
Welcome to the Lower Columbia School Gardens blog! First, raise your hand if you like the word “blog” ….. anyone? No? That’s what I thought. Me neither. Sounds like cold oatmeal. Anyway, here are a few photos of Monticello Garden Club kids planting the new area a few weeks ago. They’ve been working hard all year to get to this point – they’ve spread yards and yards of gravel on curved paths, formed mounded beds, moved the greenhouse…. and now they’re doing the really exciting stuff! Kids are now planting fruit trees, Japanese maples, blueberries, wild strawberries, lavender, and more. This Thursday Nov 17 we’ll be harvesting potatoes and roasting them with olive oil, fresh herbs, onions…. stop by for a taste, 2:30 to 4:30. 500 free tulip bulbs are waiting to be planted too, so there’s lots of fun to be had.
That’s all for now! We’ll take a break and be back at it in 2012!


/https://public-media.si-cdn.com/filer/20110520090148ground-cherries-400x298.jpg)

 Thank you for making this happen – your donations totaling $10,000 have poured in over the last few months. We will now send that to The Health Care Foundation who will in turn write a check for $20,000 to support local school gardens.
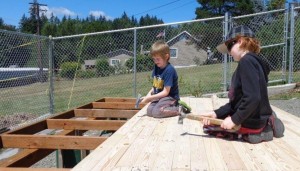 The success of this matching grant puts us closer to what we need to bring in this year to continue to provide and expand these services (still seeking $21,000 more in general donations and $20,000 from our Fall Harvest Event).
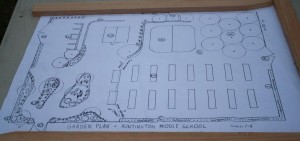 This was not a federal, state, or district initiative; rather, this was our community saying “This
  Lower Columbia School Gardens formed in 2010 to answer that call, and we have been going full tilt ever since. Thank you for partnering with us every step of the way.